
Extra Low Voltage Lighting Help Center
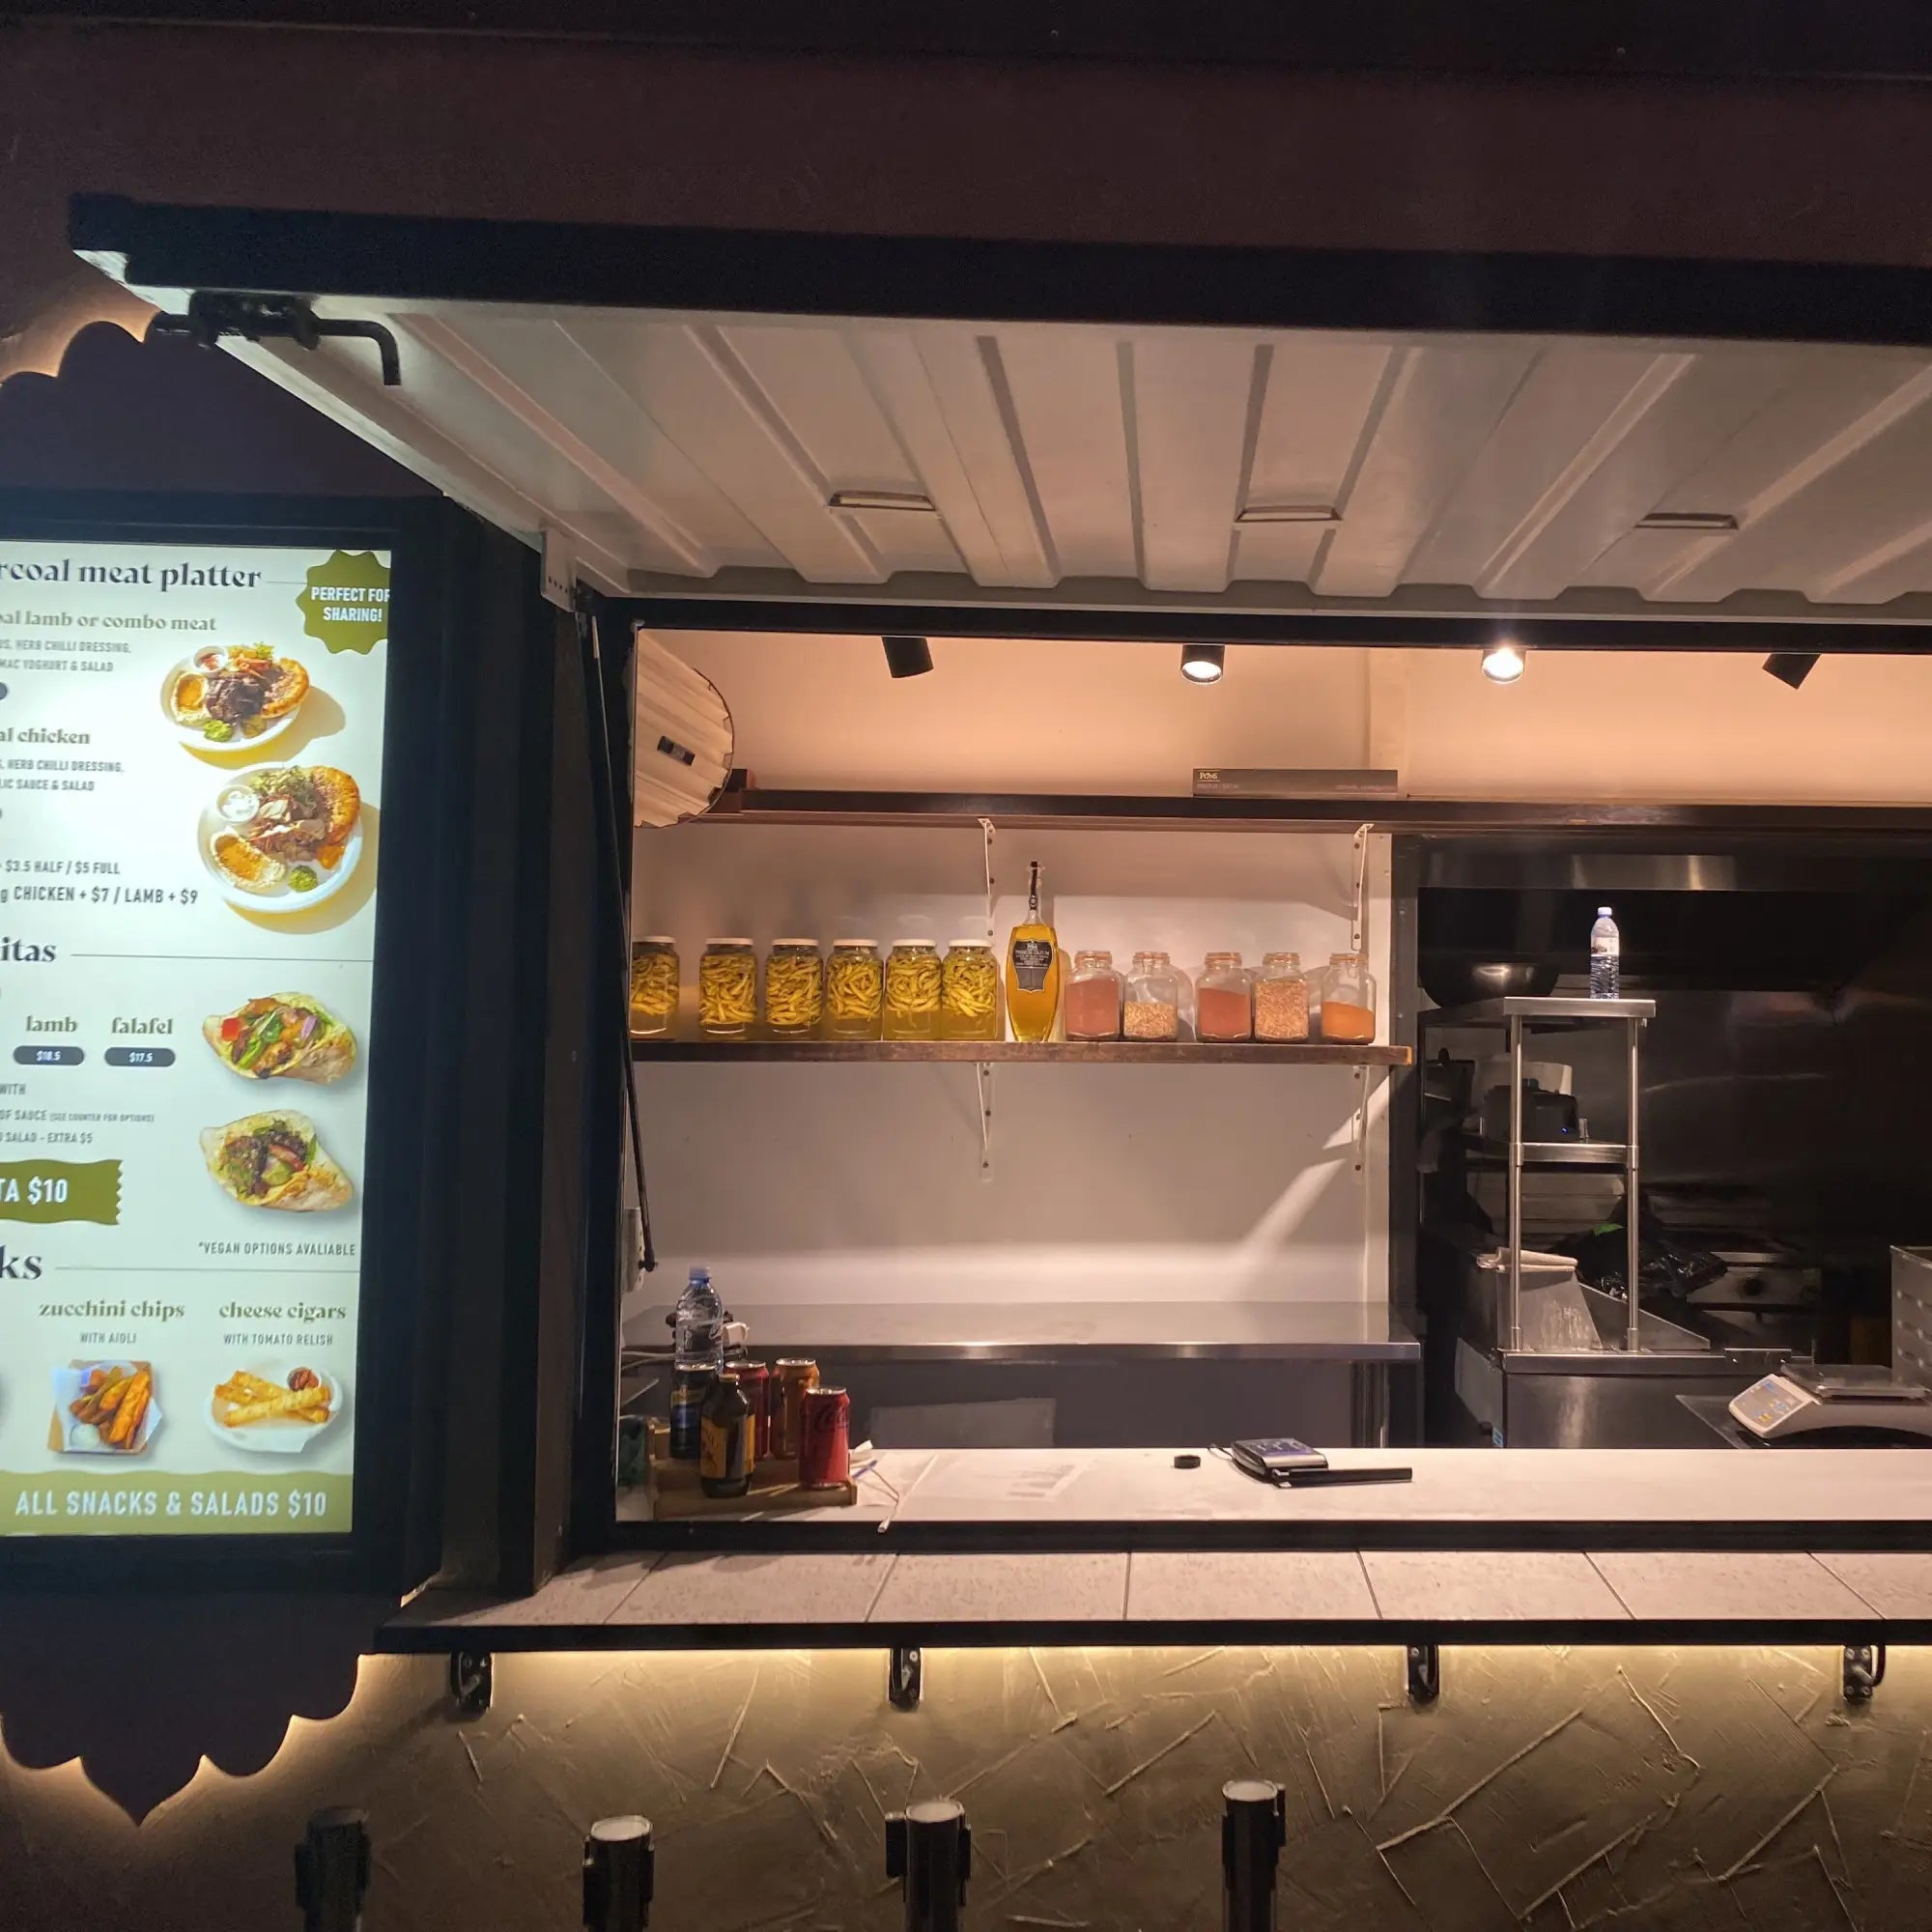
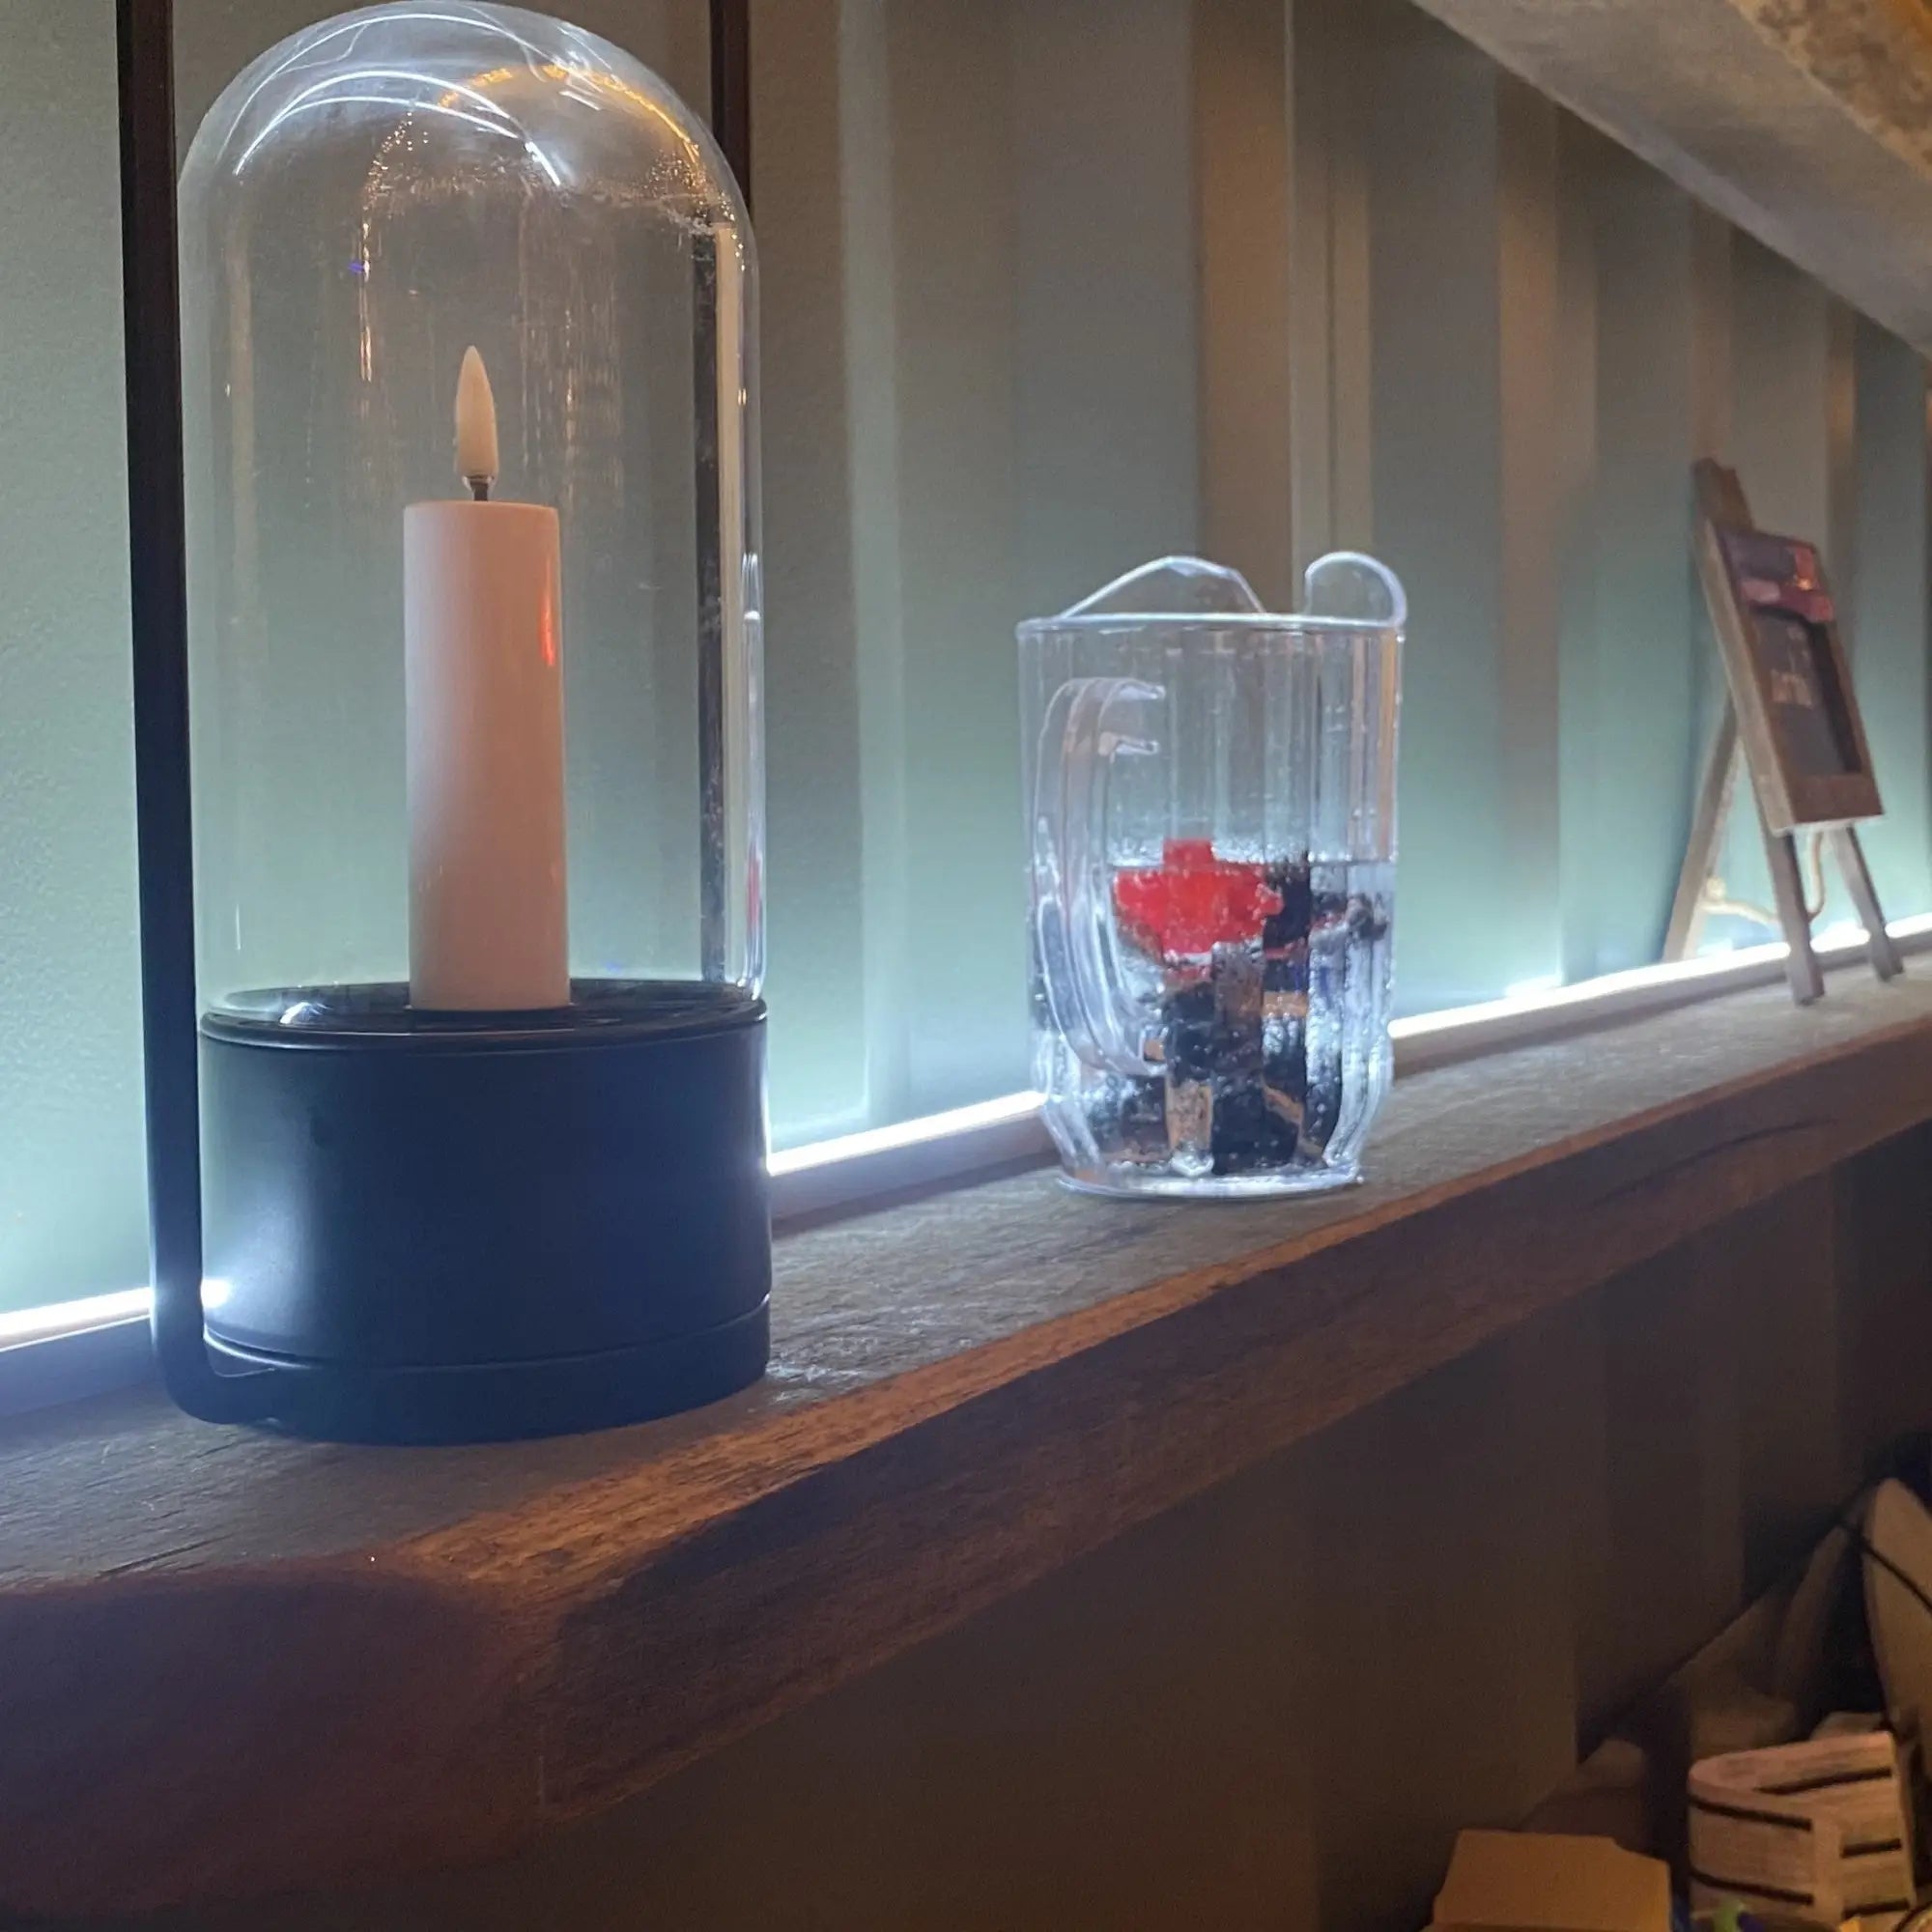
Creative Lighting Ideas for Restaurants and Cafés: Elevate Your Ambiance with Flexible Neon
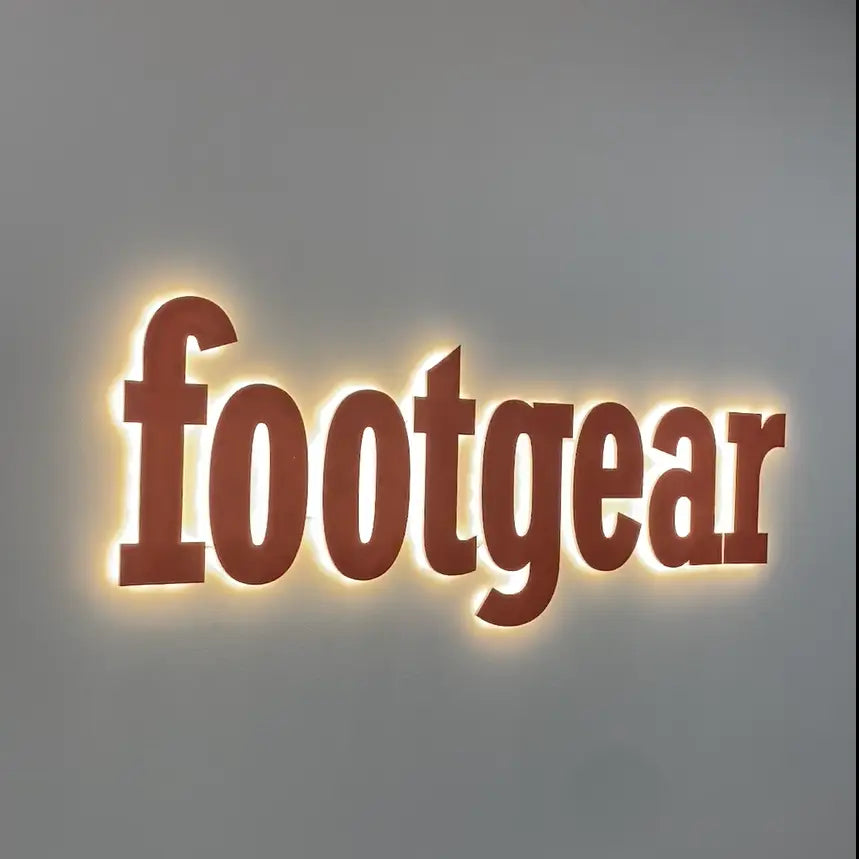
Enhance Your Retail Space with Neon LED Strips: A Guide for Business Owners
Read moreabout Enhance Your Retail Space with Neon LED Strips: A Guide for Business Owners
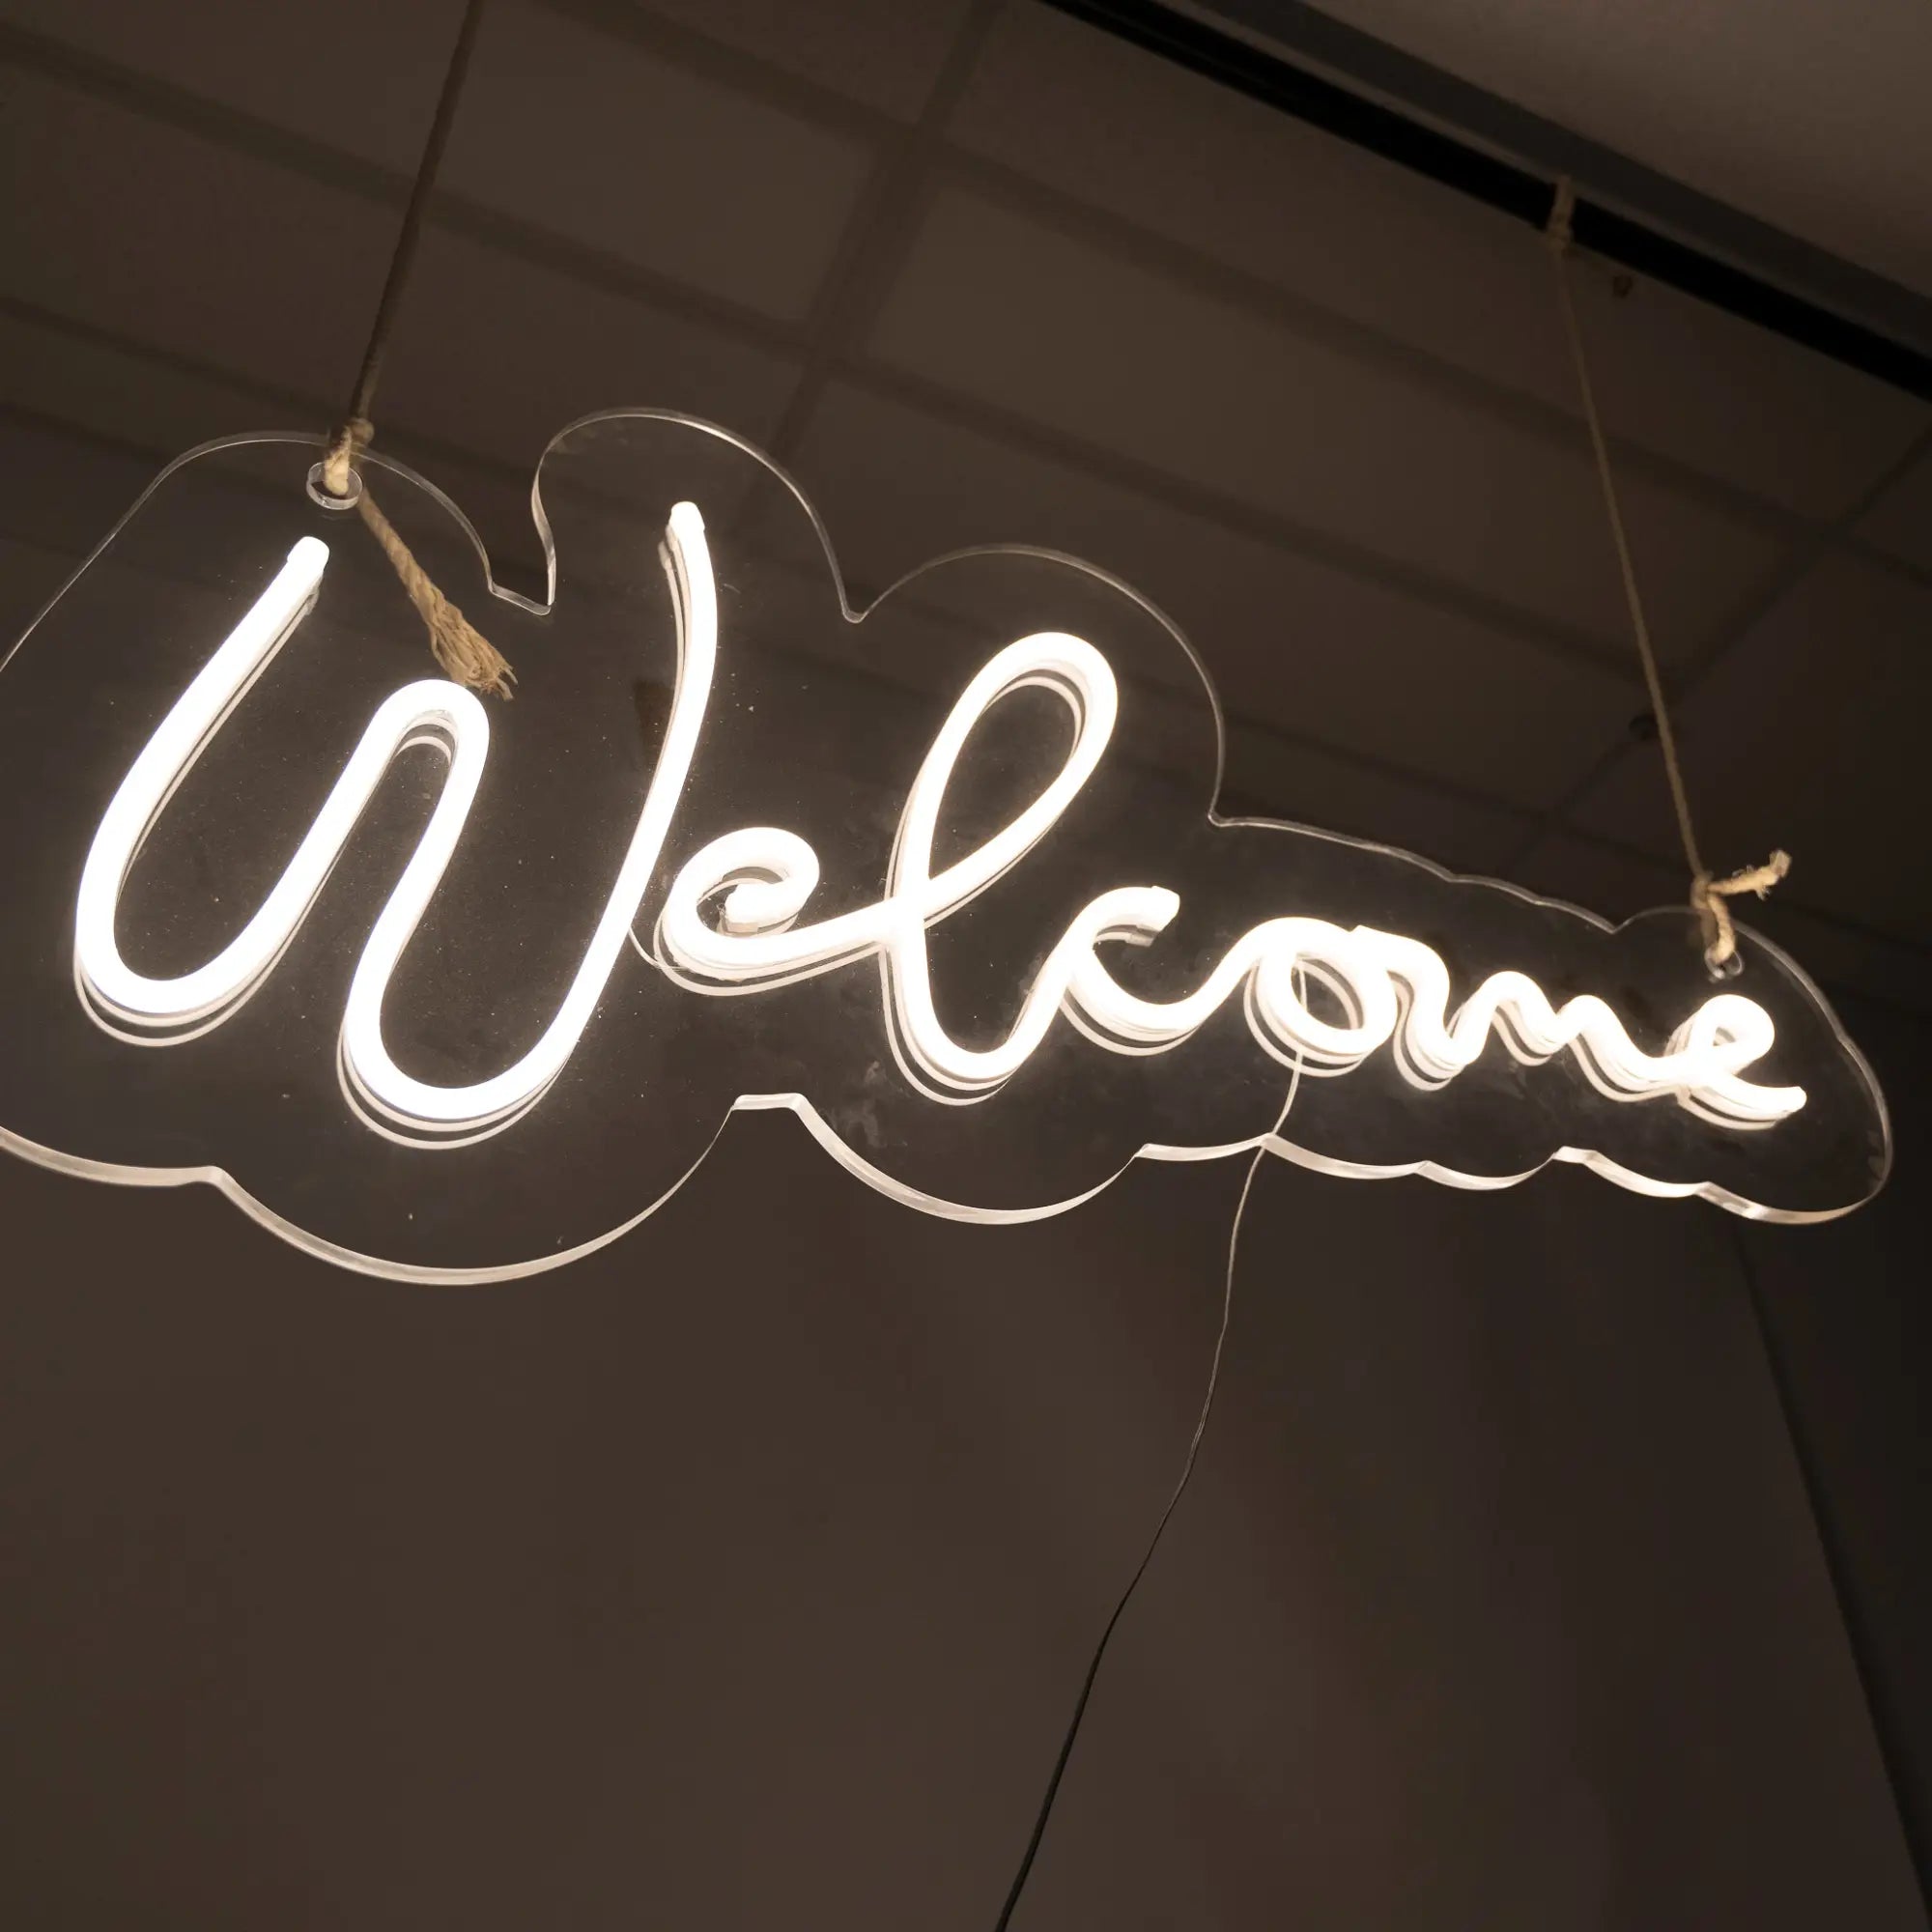
Custom Made Neon Lights: Boosting Your Brand's Visual Appeal
Read moreabout Custom Made Neon Lights: Boosting Your Brand's Visual Appeal
Why Choose Extra Low Voltage Lighting for Your Business?
Read moreabout Why Choose Extra Low Voltage Lighting for Your Business?
Benefits of Investing in Flexible Neon Signs For Your Business
Read moreabout Benefits of Investing in Flexible Neon Signs For Your Business
How To Solder Flexible Neon (12V)
How to Make a DIY Flexible Neon Sign
Connecting Wires Using Soldering and WAGO Connectors with Polarity Match
Read moreabout Connecting Wires Using Soldering and WAGO Connectors with Polarity Match
Creating an LED Sign or Feature Using Flexible Neon Accessories
Read moreabout Creating an LED Sign or Feature Using Flexible Neon Accessories