Soldering Flexible Neon (12V) can be a precise process, but with the right tools and technique, it can be accomplished effectively. Here's a detailed guide on how to solder Flexible Neon for single-colour, RGB, and pixel applications:
Note: Before you begin, make sure you have the appropriate safety gear, such as safety goggles and heat-resistant gloves, and that you're working in a well-ventilated area. Also, ensure you're using the correct soldering equipment and have some experience with soldering techniques.
Materials You Will Need:
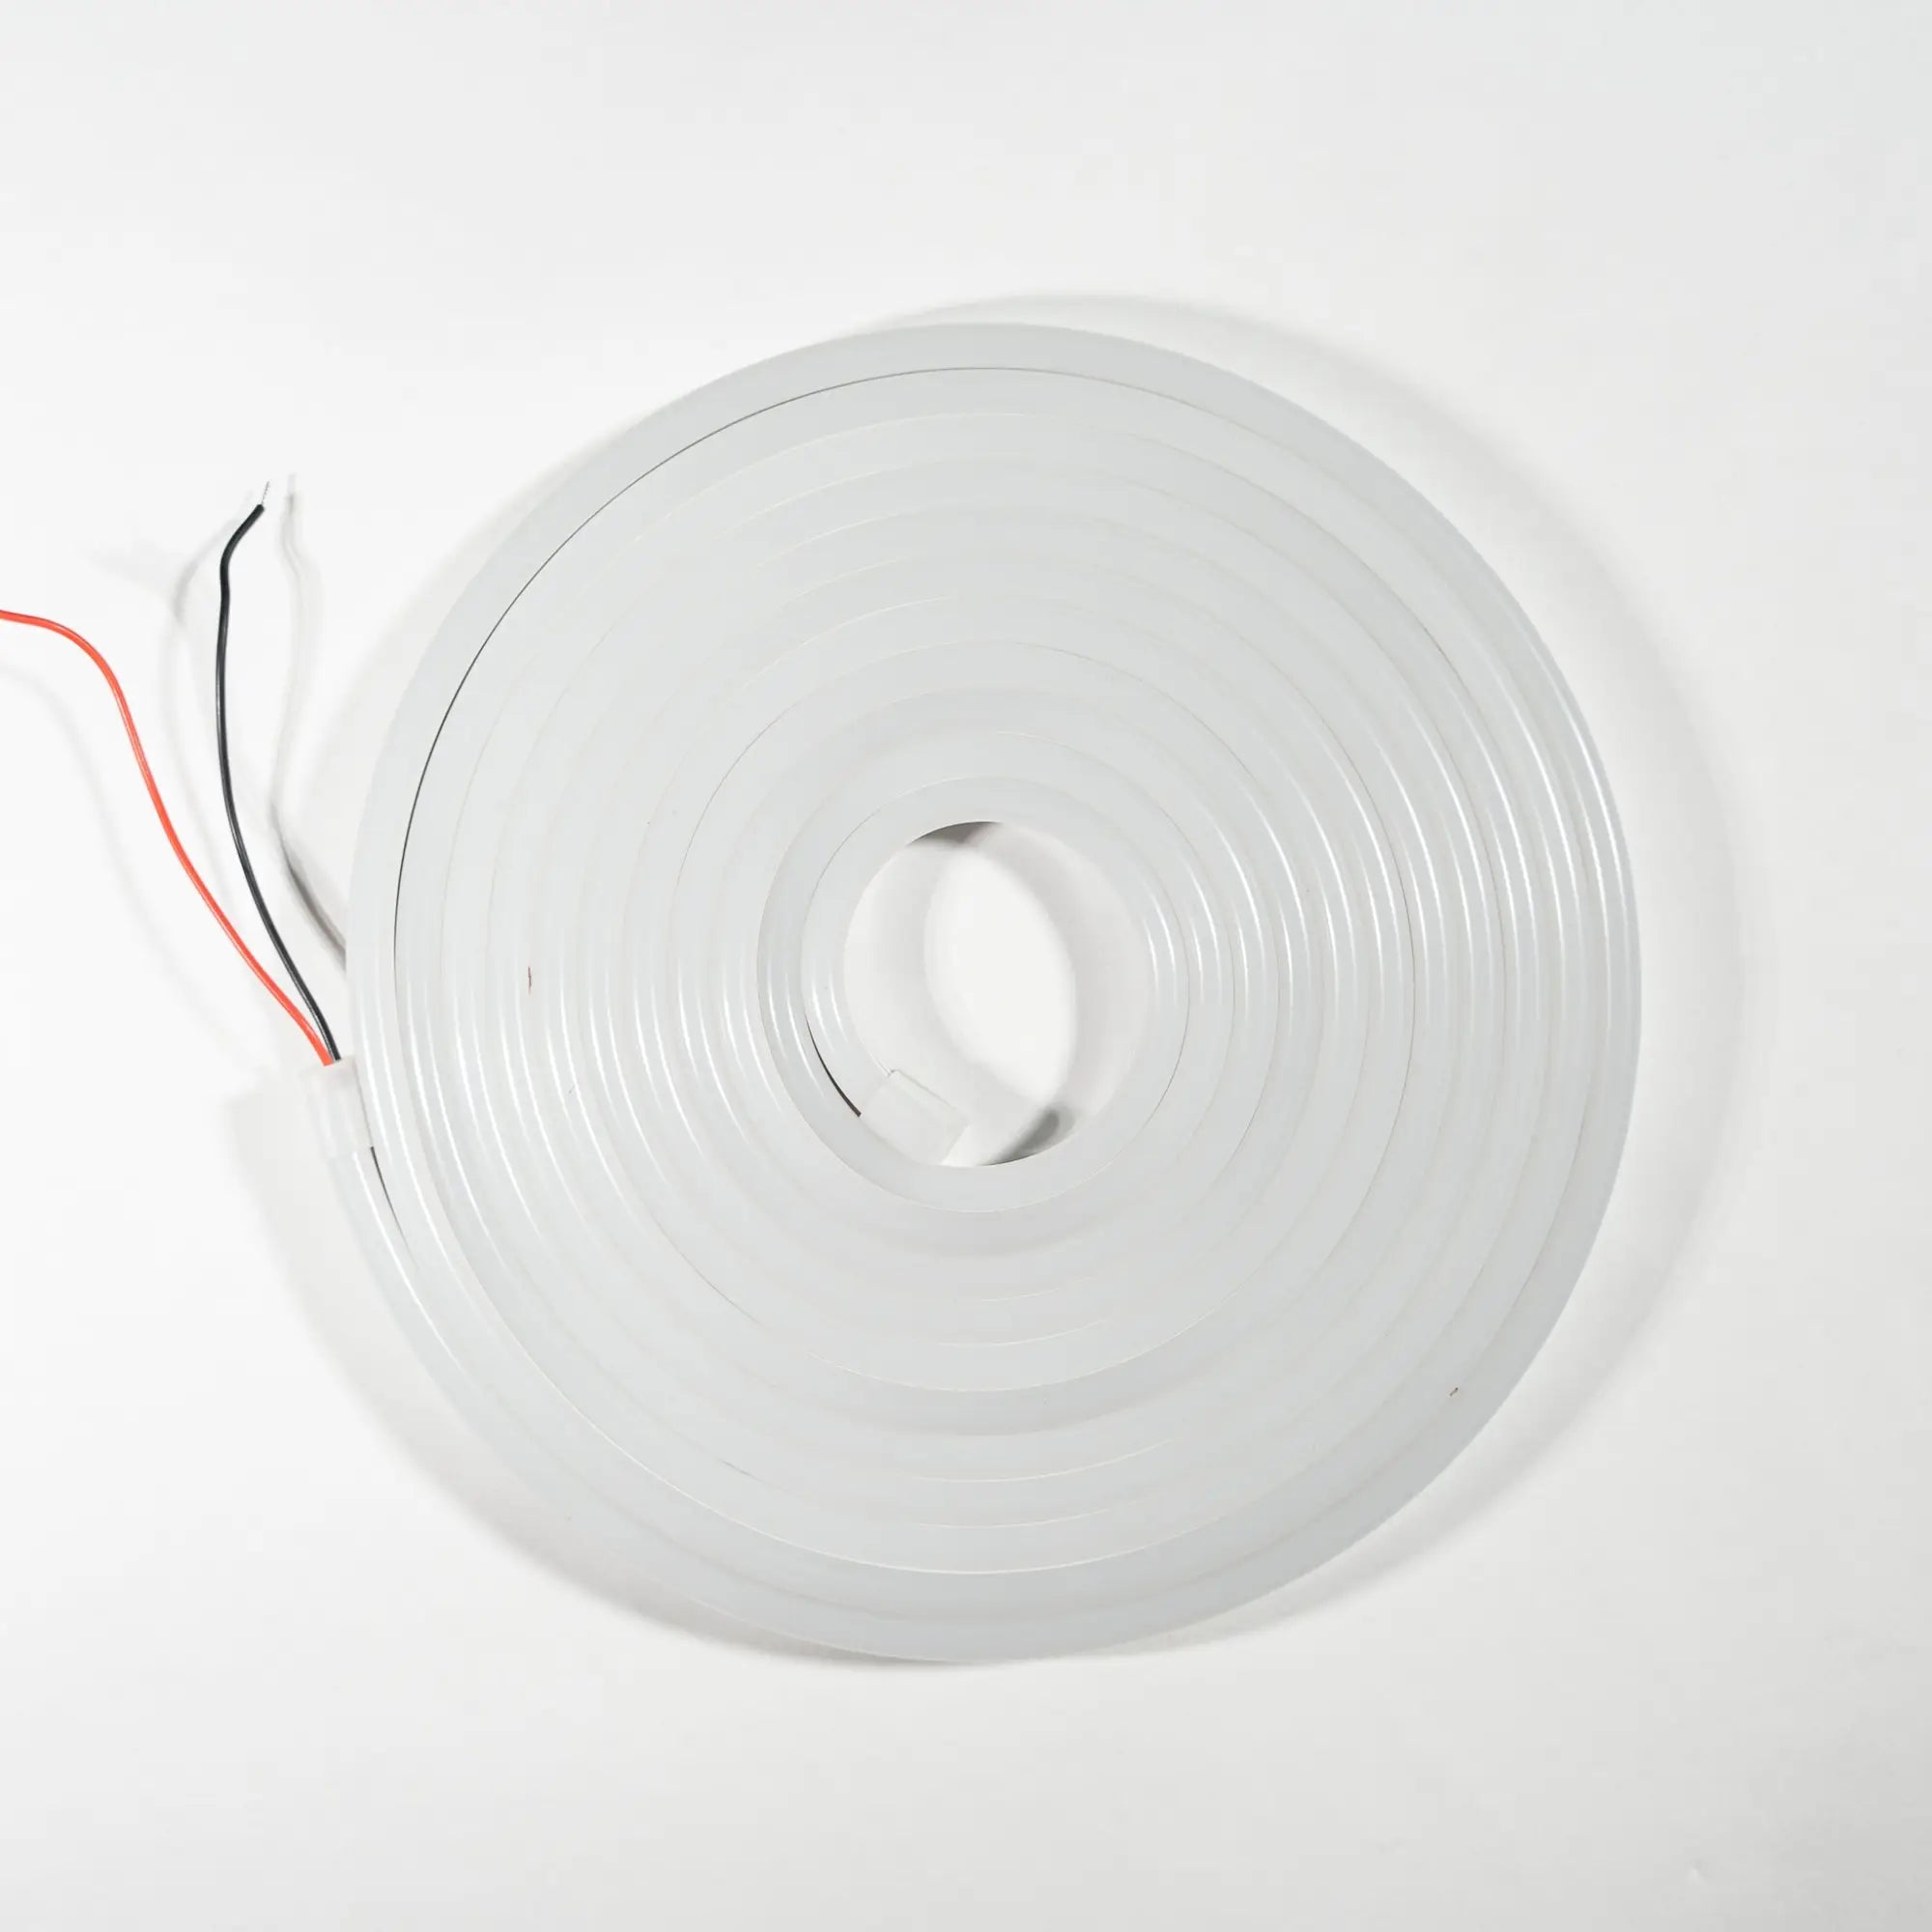
- Flexible Neon (12V) with the required connectors
- Soldering iron with a fine-tip soldering station
- Solder wire
- Wire strippers
- Wire Cutters
- Silicone Glue
- Flux (optional, for improved solder flow)
Procedure:
1. Prepare Your Work Area:
- Ensure your work area is clean, well-ventilated, and free from any flammable materials.
- Set up your soldering iron on a heat-resistant surface.
- Put on your safety goggles and heat-resistant gloves.
2. Prepare the Wires:
- Strip the insulation from the ends of the wires you intend to solder. Typically, you'll need to expose about 1/4 inch (6mm) of wire.
- Twist the exposed wire strands together to prevent fraying.
3. Tinning the Wires:
- Heat the soldering iron to the appropriate temperature.
- Apply a small amount of solder to the tip of the soldering iron (this is called tinning).
- Carefully touch the tinned tip of the soldering iron to the exposed wire. The heat will transfer, and the wire should start to melt the solder.
- Apply a little more solder to ensure the wire is fully coated and tinned. This will help with the actual soldering process.
4. Soldering the Connections:
For Single Colour:
- Match the positive and negative wires to their corresponding pads on the Flexible Neon.
- Hold the tinned wire against the pad and apply the soldering iron to the wire and pad simultaneously.
- Allow the solder to melt and flow, creating a secure connection.
- Remove the soldering iron and let the solder cool and solidify. Ensure the wires are held in place until the solder hardens.
- Test the Flexible Neon to ensure it's functioning correctly.
For RGB:
- Solder the positive polarity wire to its respective pad on the Flexible Neon.
- Identify the Red, Green, and Blue terminals for the negative polarity wires.
- Solder each negative wire to its corresponding terminal on the Flexible Neon.
- Make sure the wires are securely attached, and the solder joints are clean.
- Test the Flexible Neon to ensure it's functioning correctly.
For Pixel:
- Solder the positive and negative polarity wires to their respective pads on the Flexible Neon.
- Locate the data signal wire and solder it to the Data pad on the Flexible Neon.
- Ensure that all solder connections are solid and without any short circuits.
- Test the Flexible Neon to ensure it's functioning correctly.
5. Waterproofing and Protecting the Connections:
- Inspect your soldered connections to ensure they are clean and secure.
- Fill exposed pads with silicone glue and slide your desired end cap onto the Flexible Neon.
- This will help retain its IP rating
6. Final Checks:
- Inspect your soldered connections to ensure they are clean and secure.
- Make sure there are no loose wires or exposed connections.
- Test the Flexible Neon to ensure it's functioning correctly.
Remember to exercise caution when working with hot soldering irons, and always follow safety guidelines to prevent burns or other injuries. If you're unsure about any part of the soldering process or need assistance with choosing the right controller, it's advisable to contact Flexible Neon for guidance and support.


Share: