
Extra Low Voltage Lighting Help Center

The Advantages of Commercial Lighting
Discover the advantages of commercial lighting with Flexible Neon's offerings. Explore the longevity, energy efficiency, and aesthetic appeal of festoon lighting, LED floodlights, fairy lights, and LED modules for your projects.
Illuminate Your Imagination: The Flexible Neon Revolution
Read moreabout Illuminate Your Imagination: The Flexible Neon Revolution
Choosing the Right Christmas Lights: A Complete Guide by Flexible Neon
Read moreabout Choosing the Right Christmas Lights: A Complete Guide by Flexible Neon
Why Choose Flexible Neon's Low-Voltage Lighting Solutions for Safety and Style
Read moreabout Why Choose Flexible Neon's Low-Voltage Lighting Solutions for Safety and Style
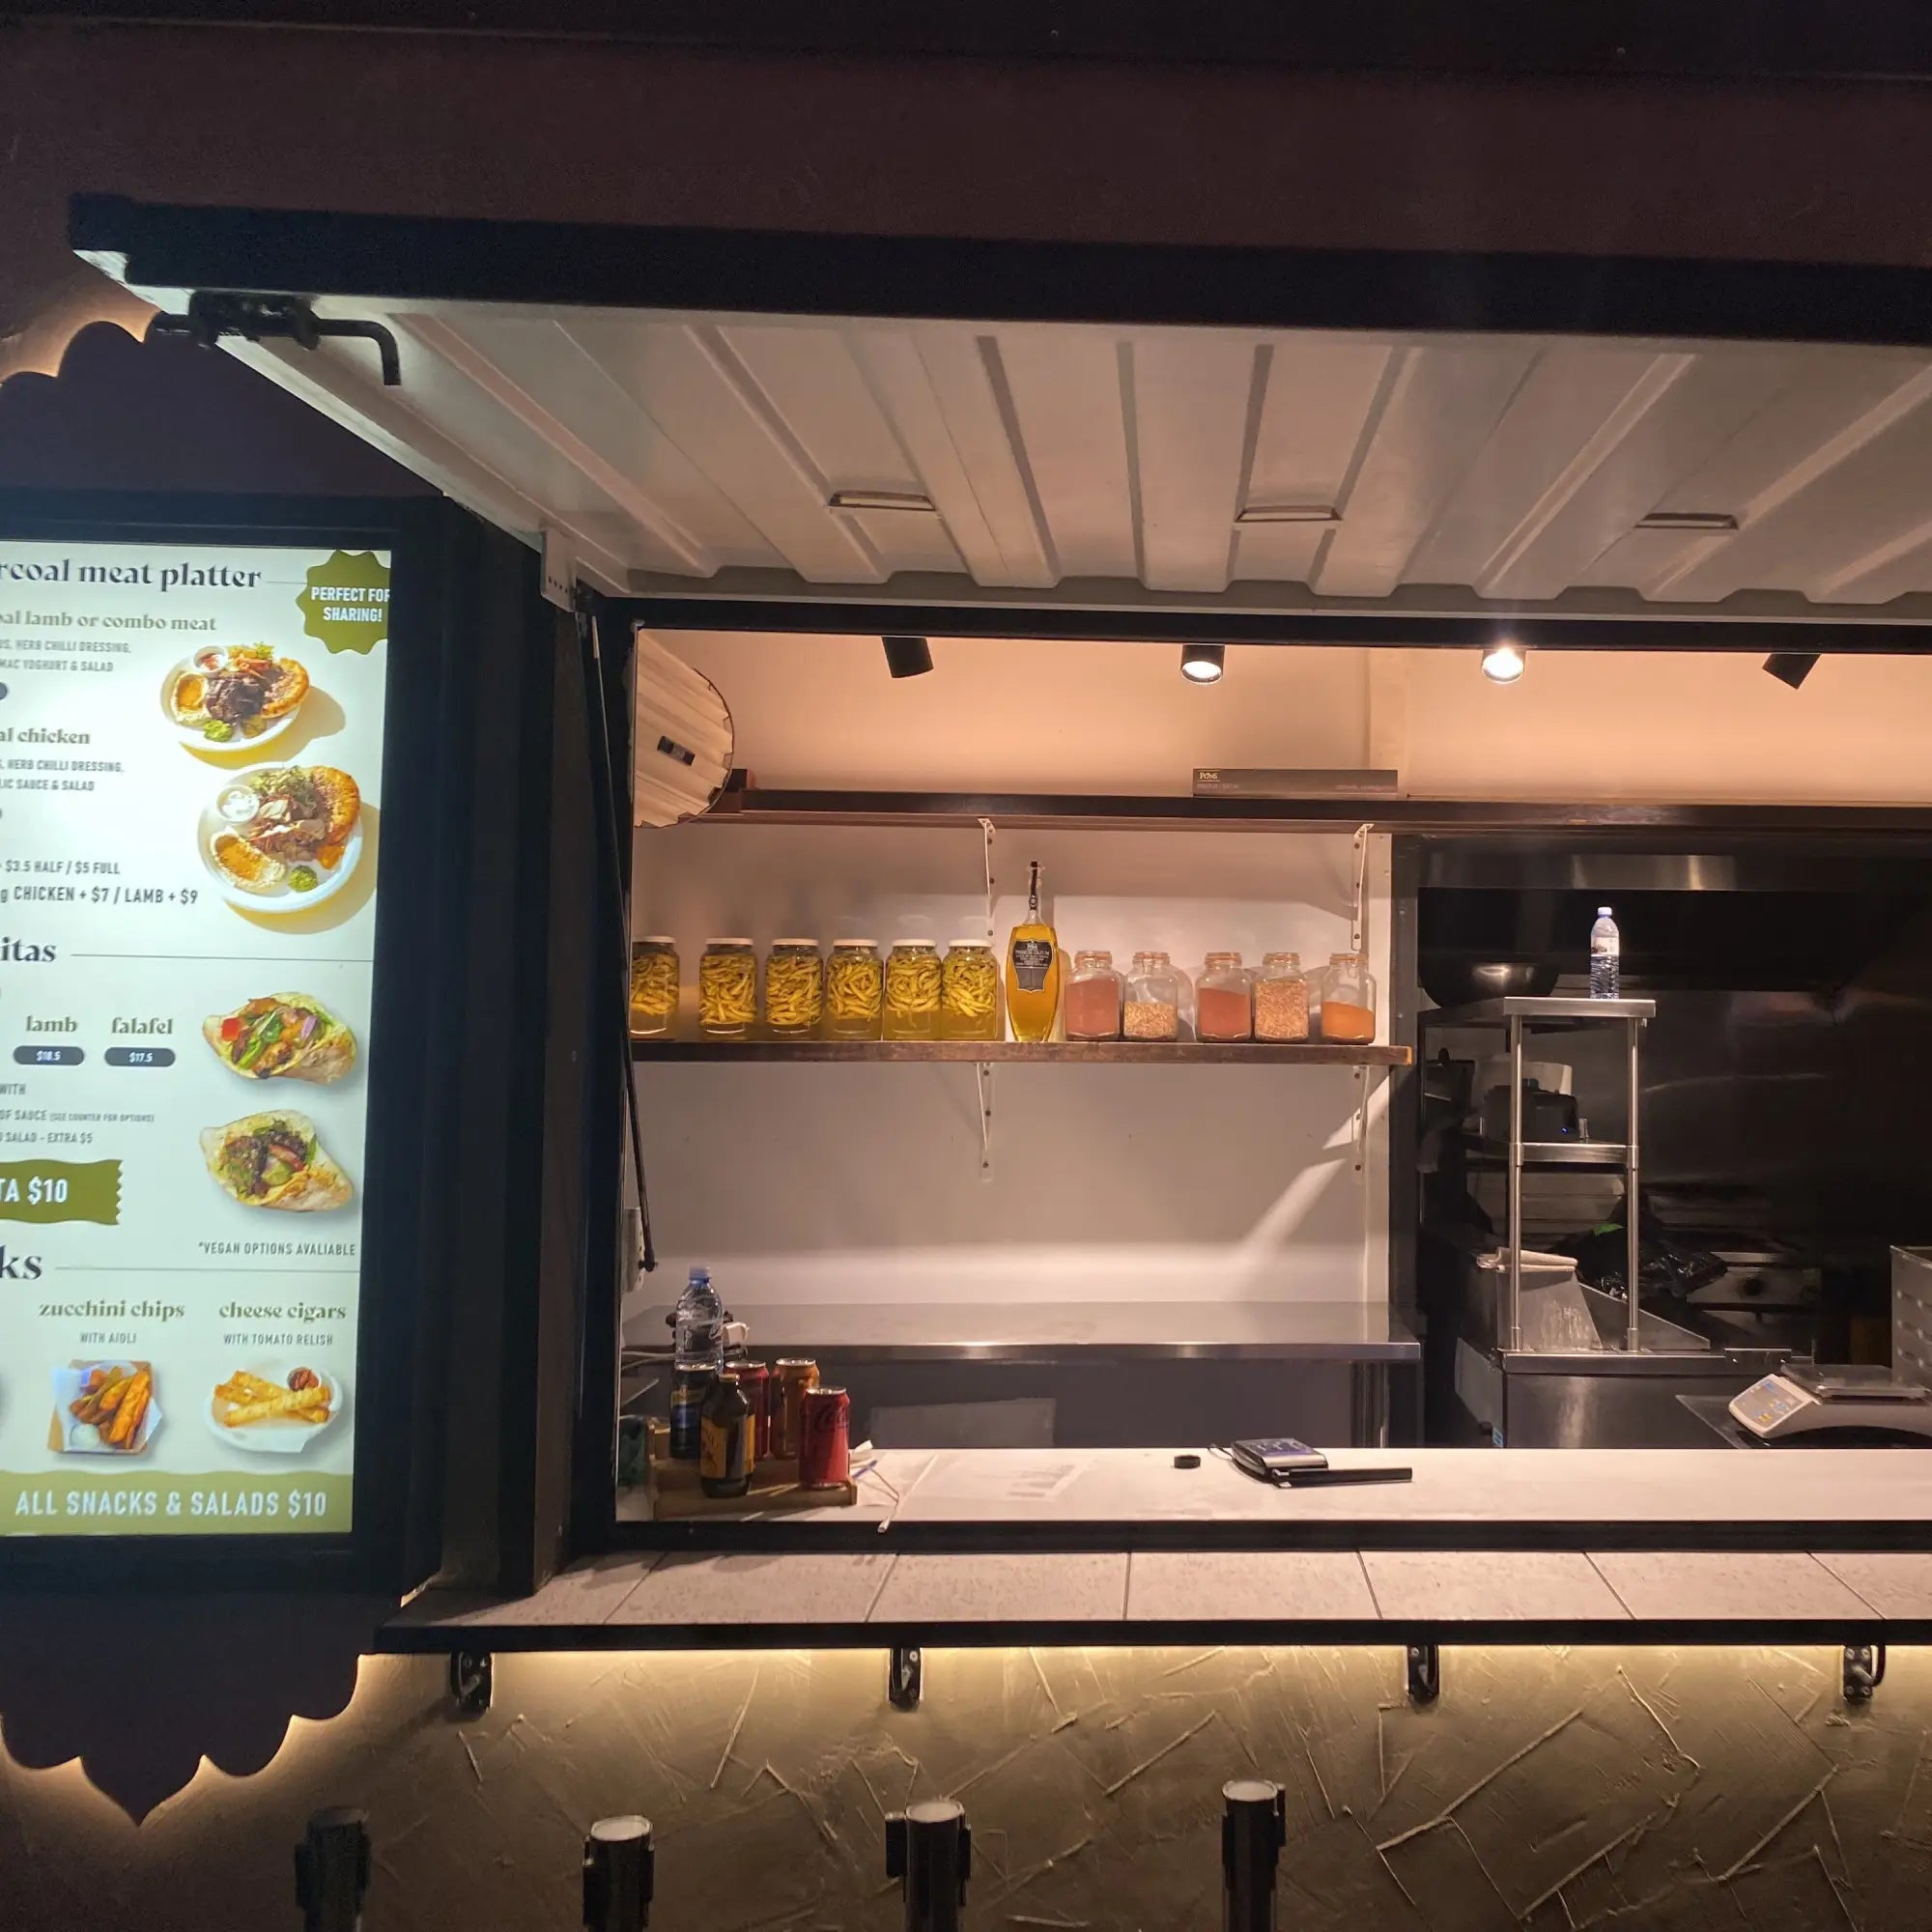
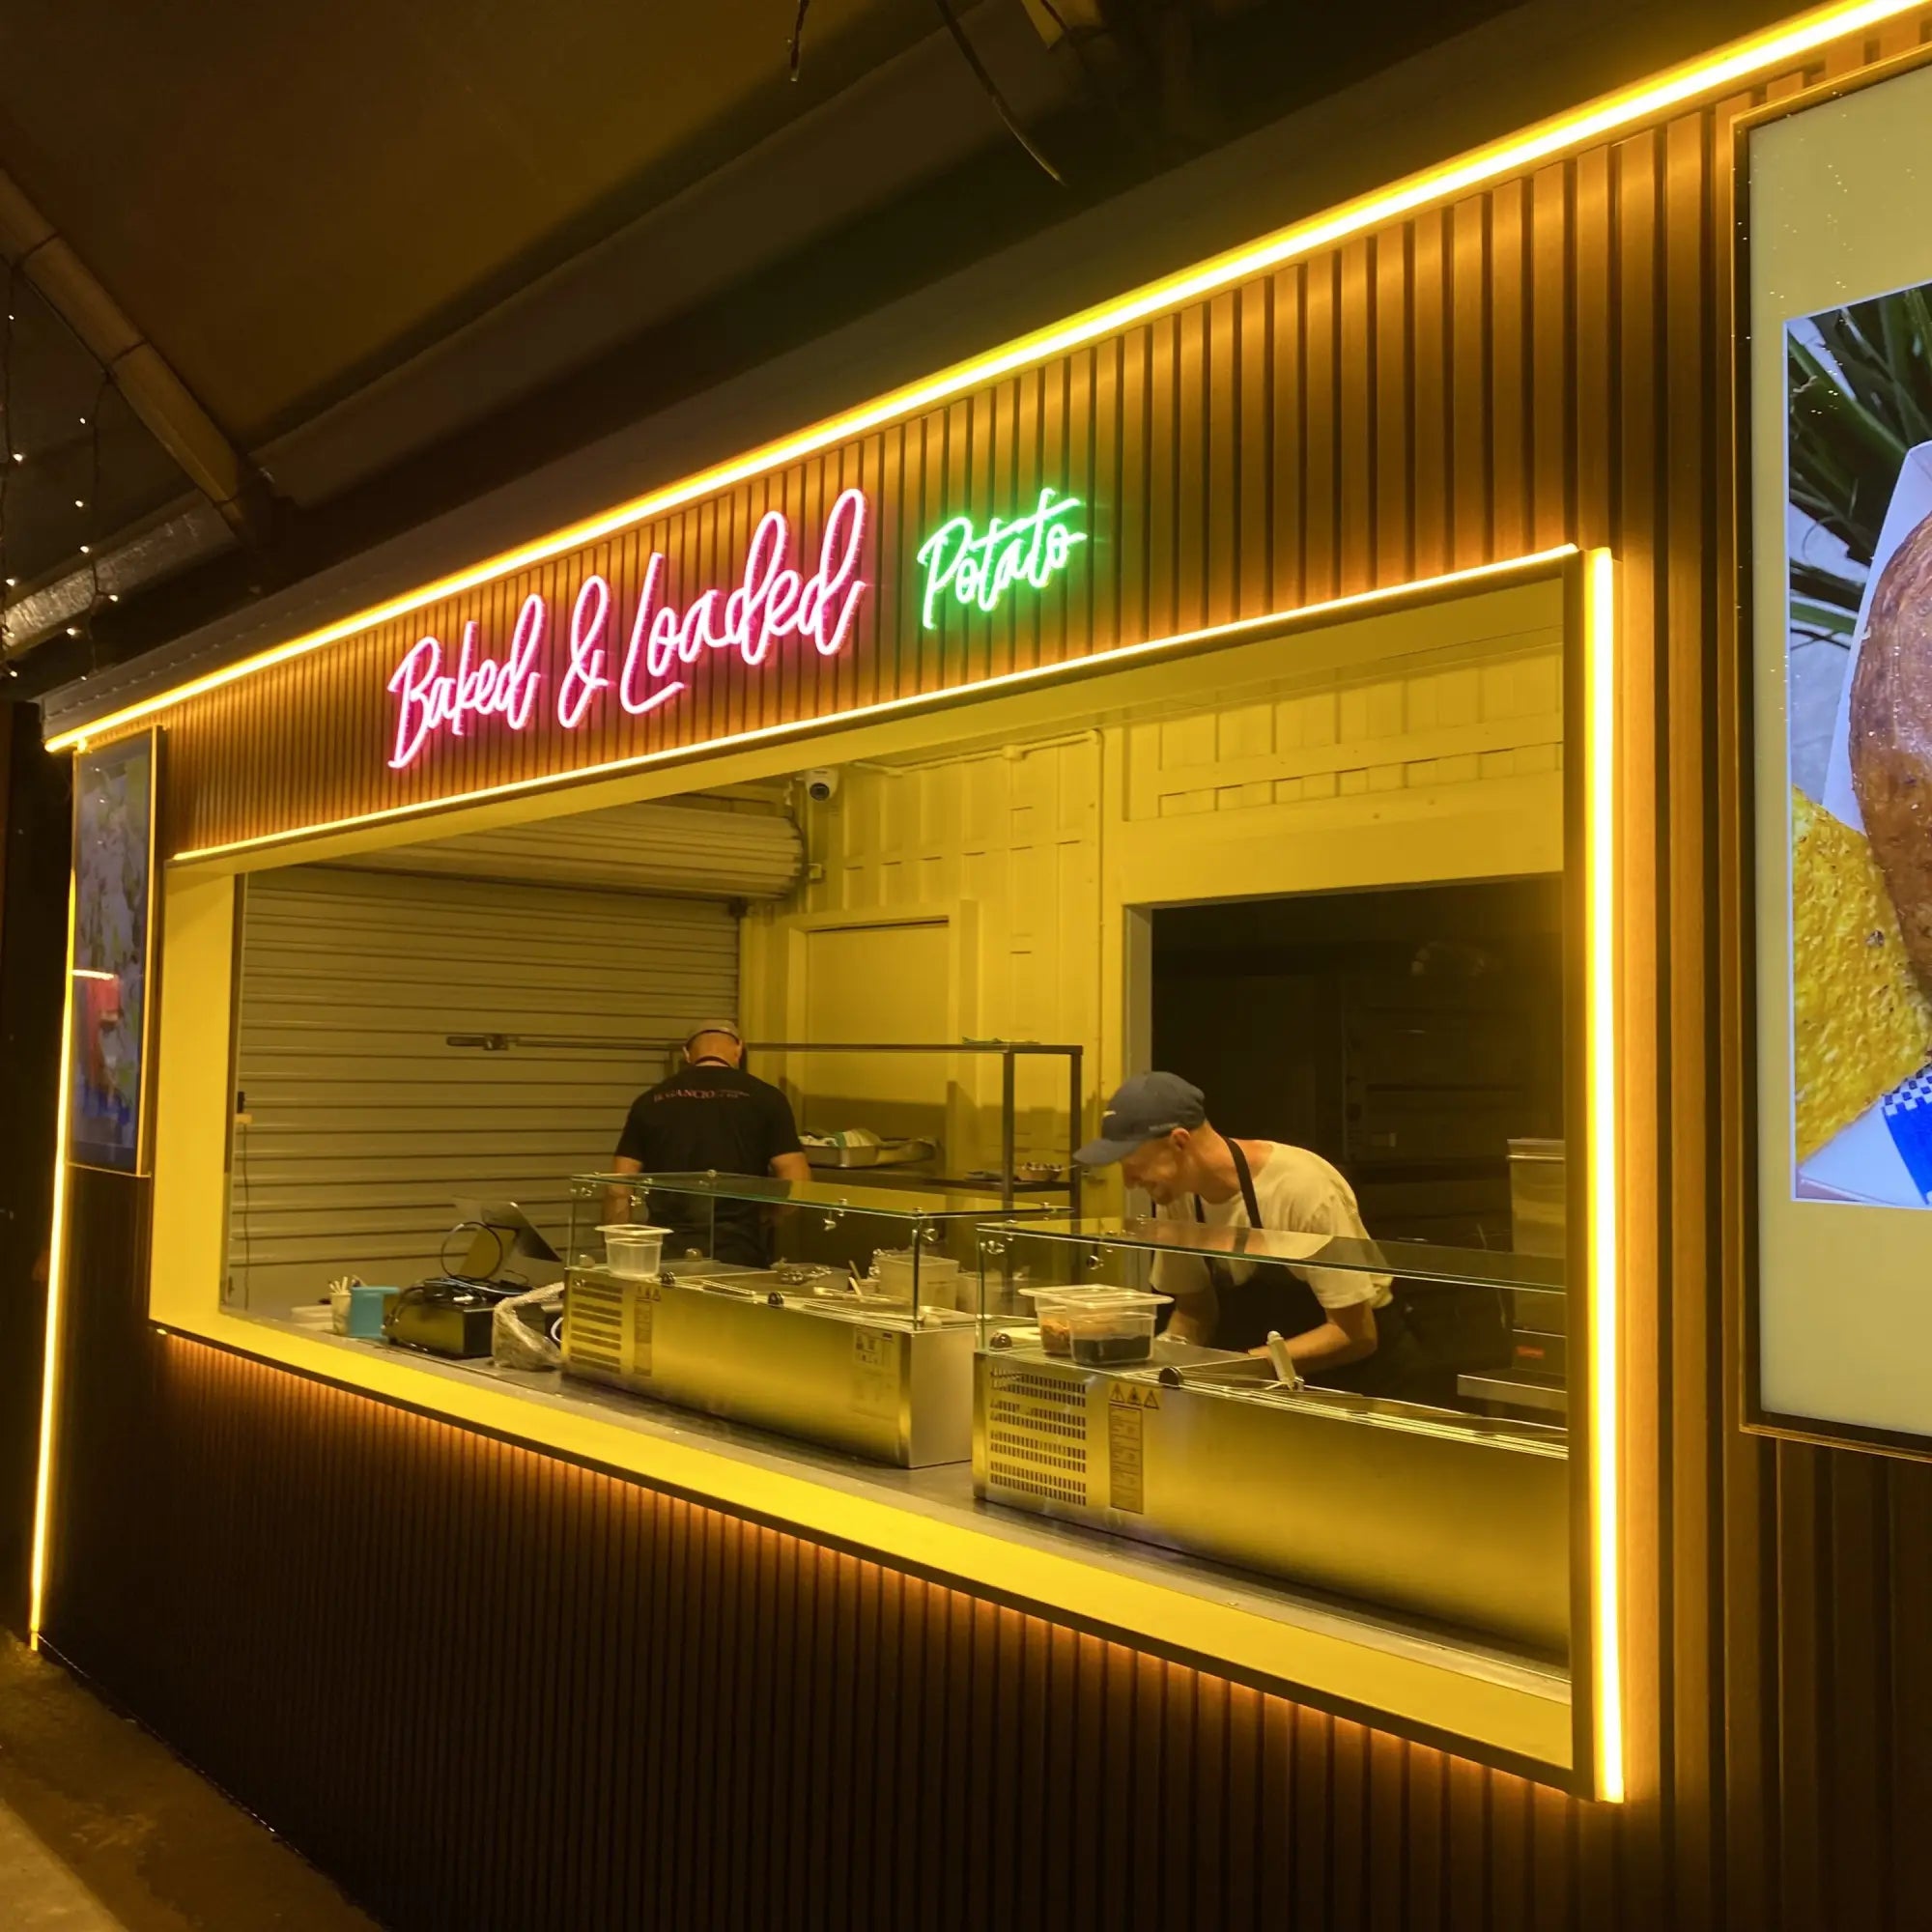
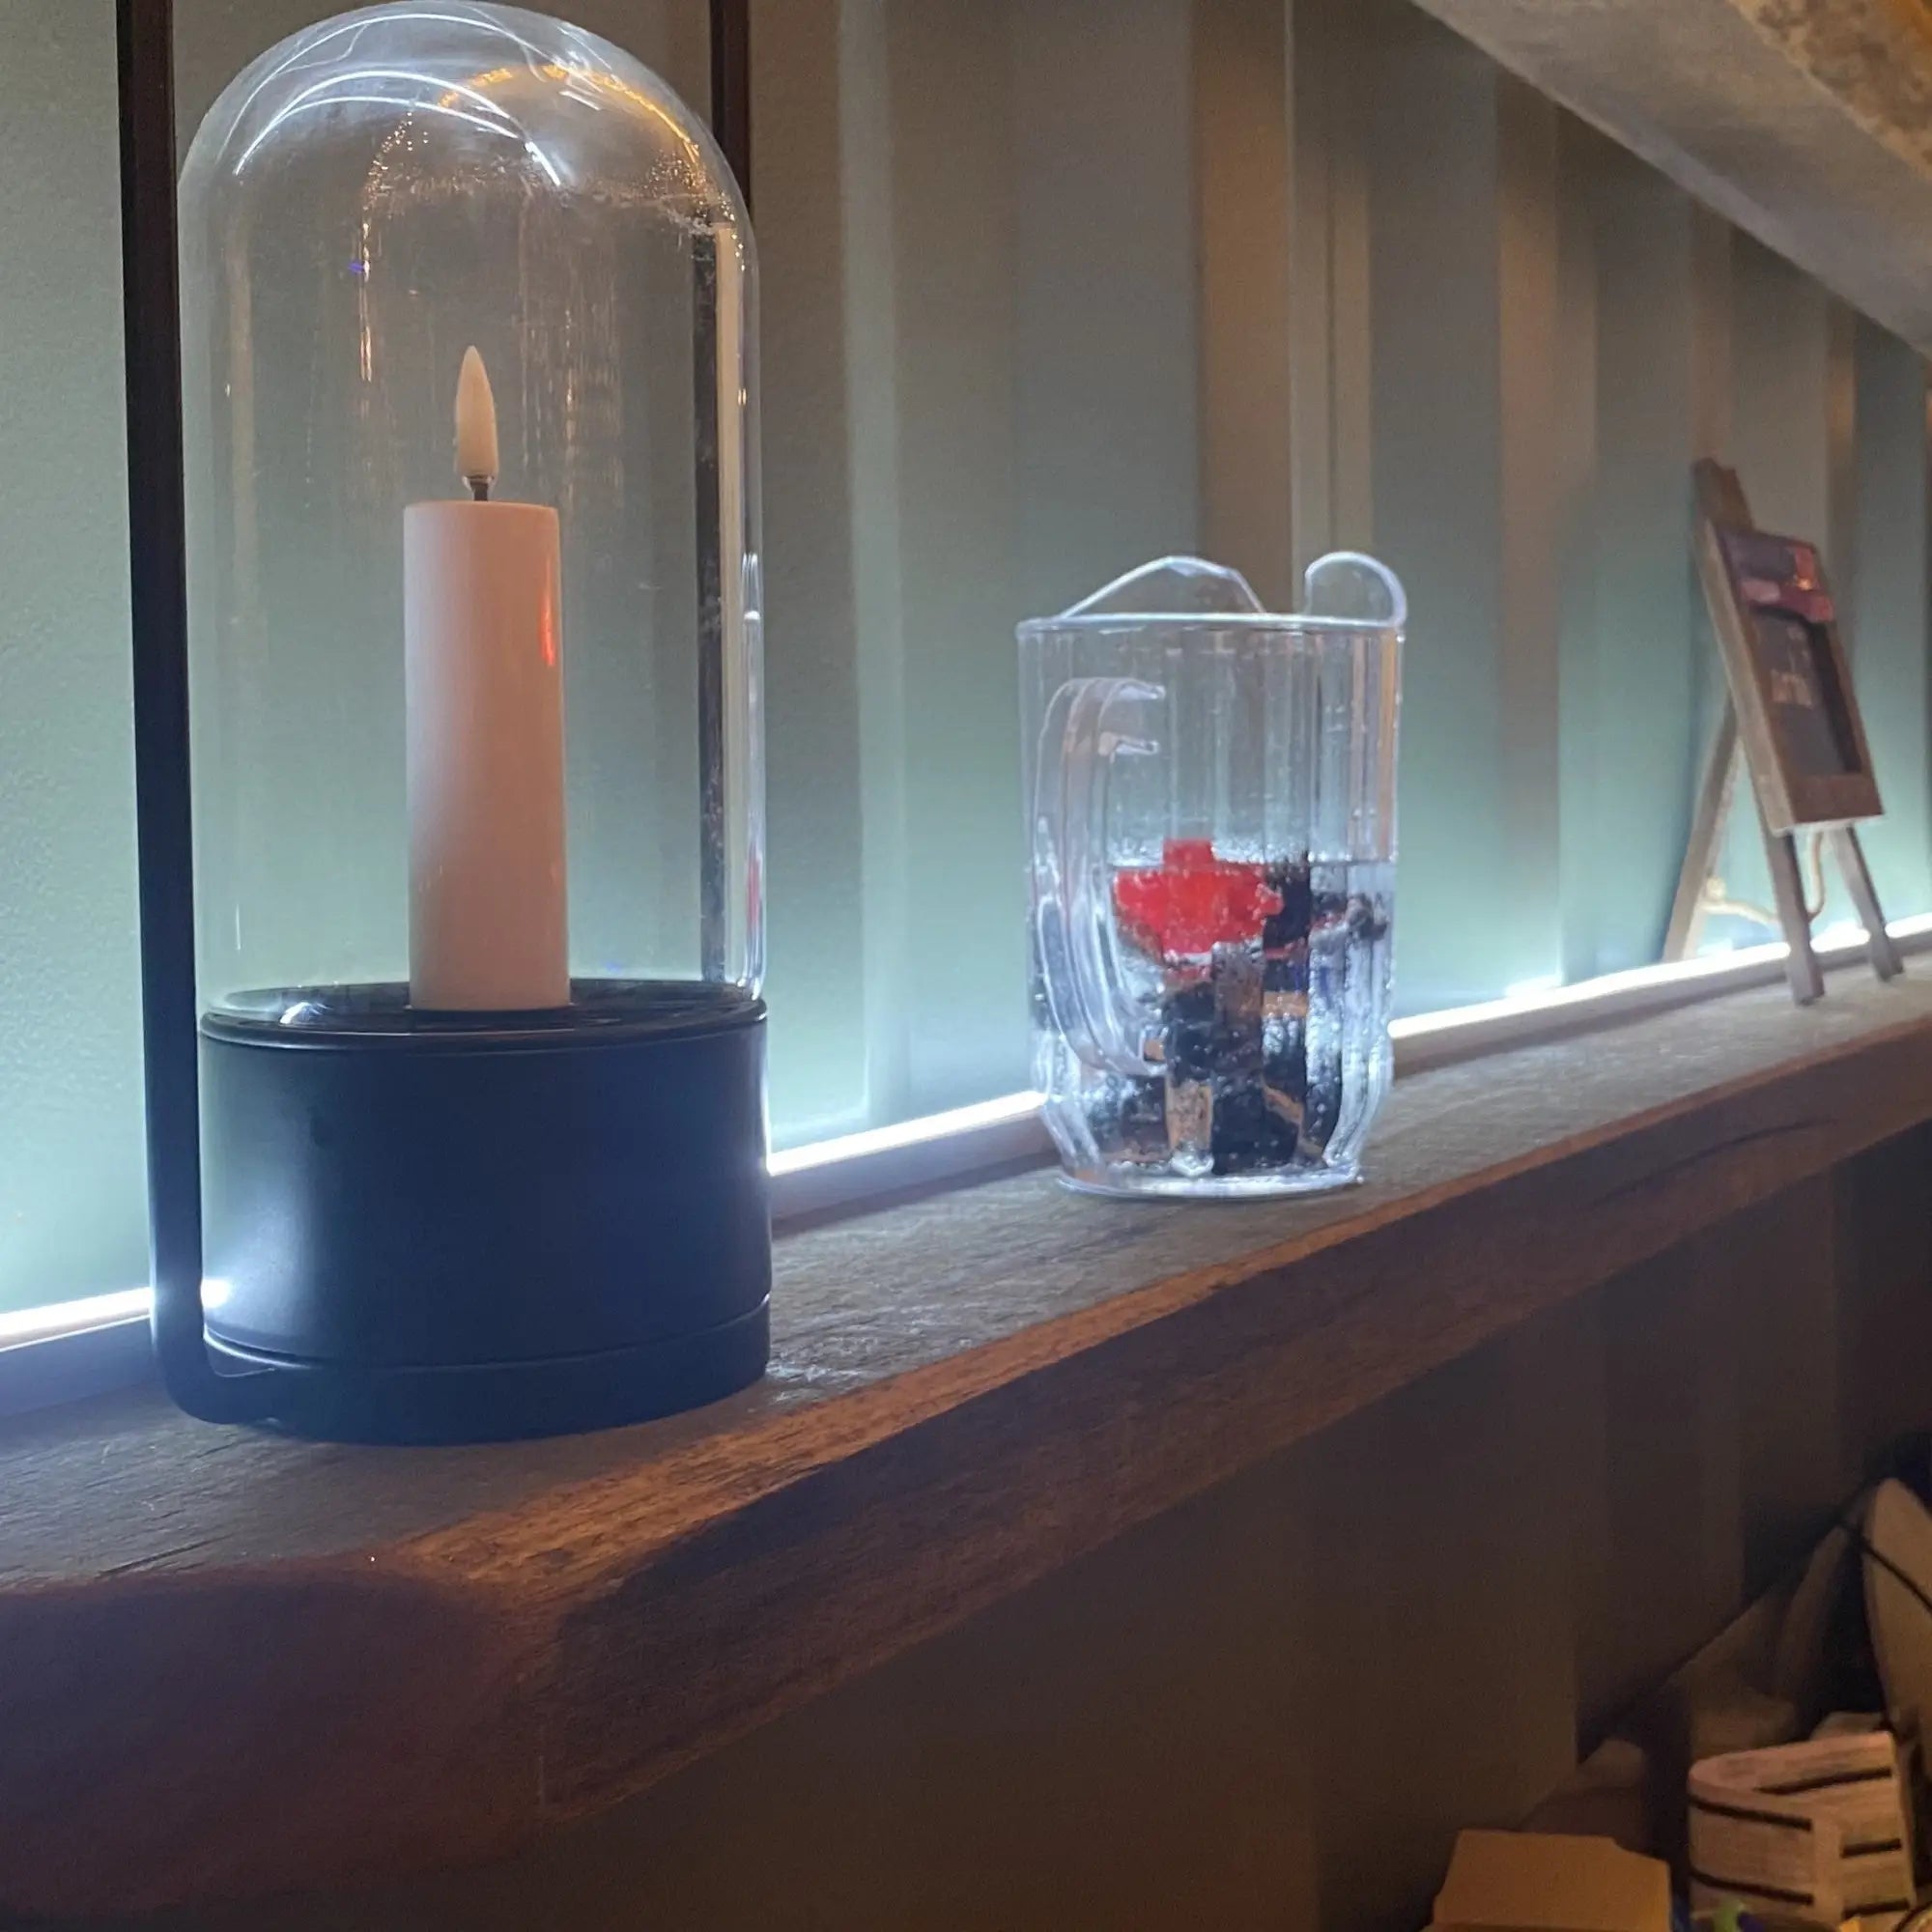
Creative Lighting Ideas for Restaurants and Cafés: Elevate Your Ambiance with Flexible Neon
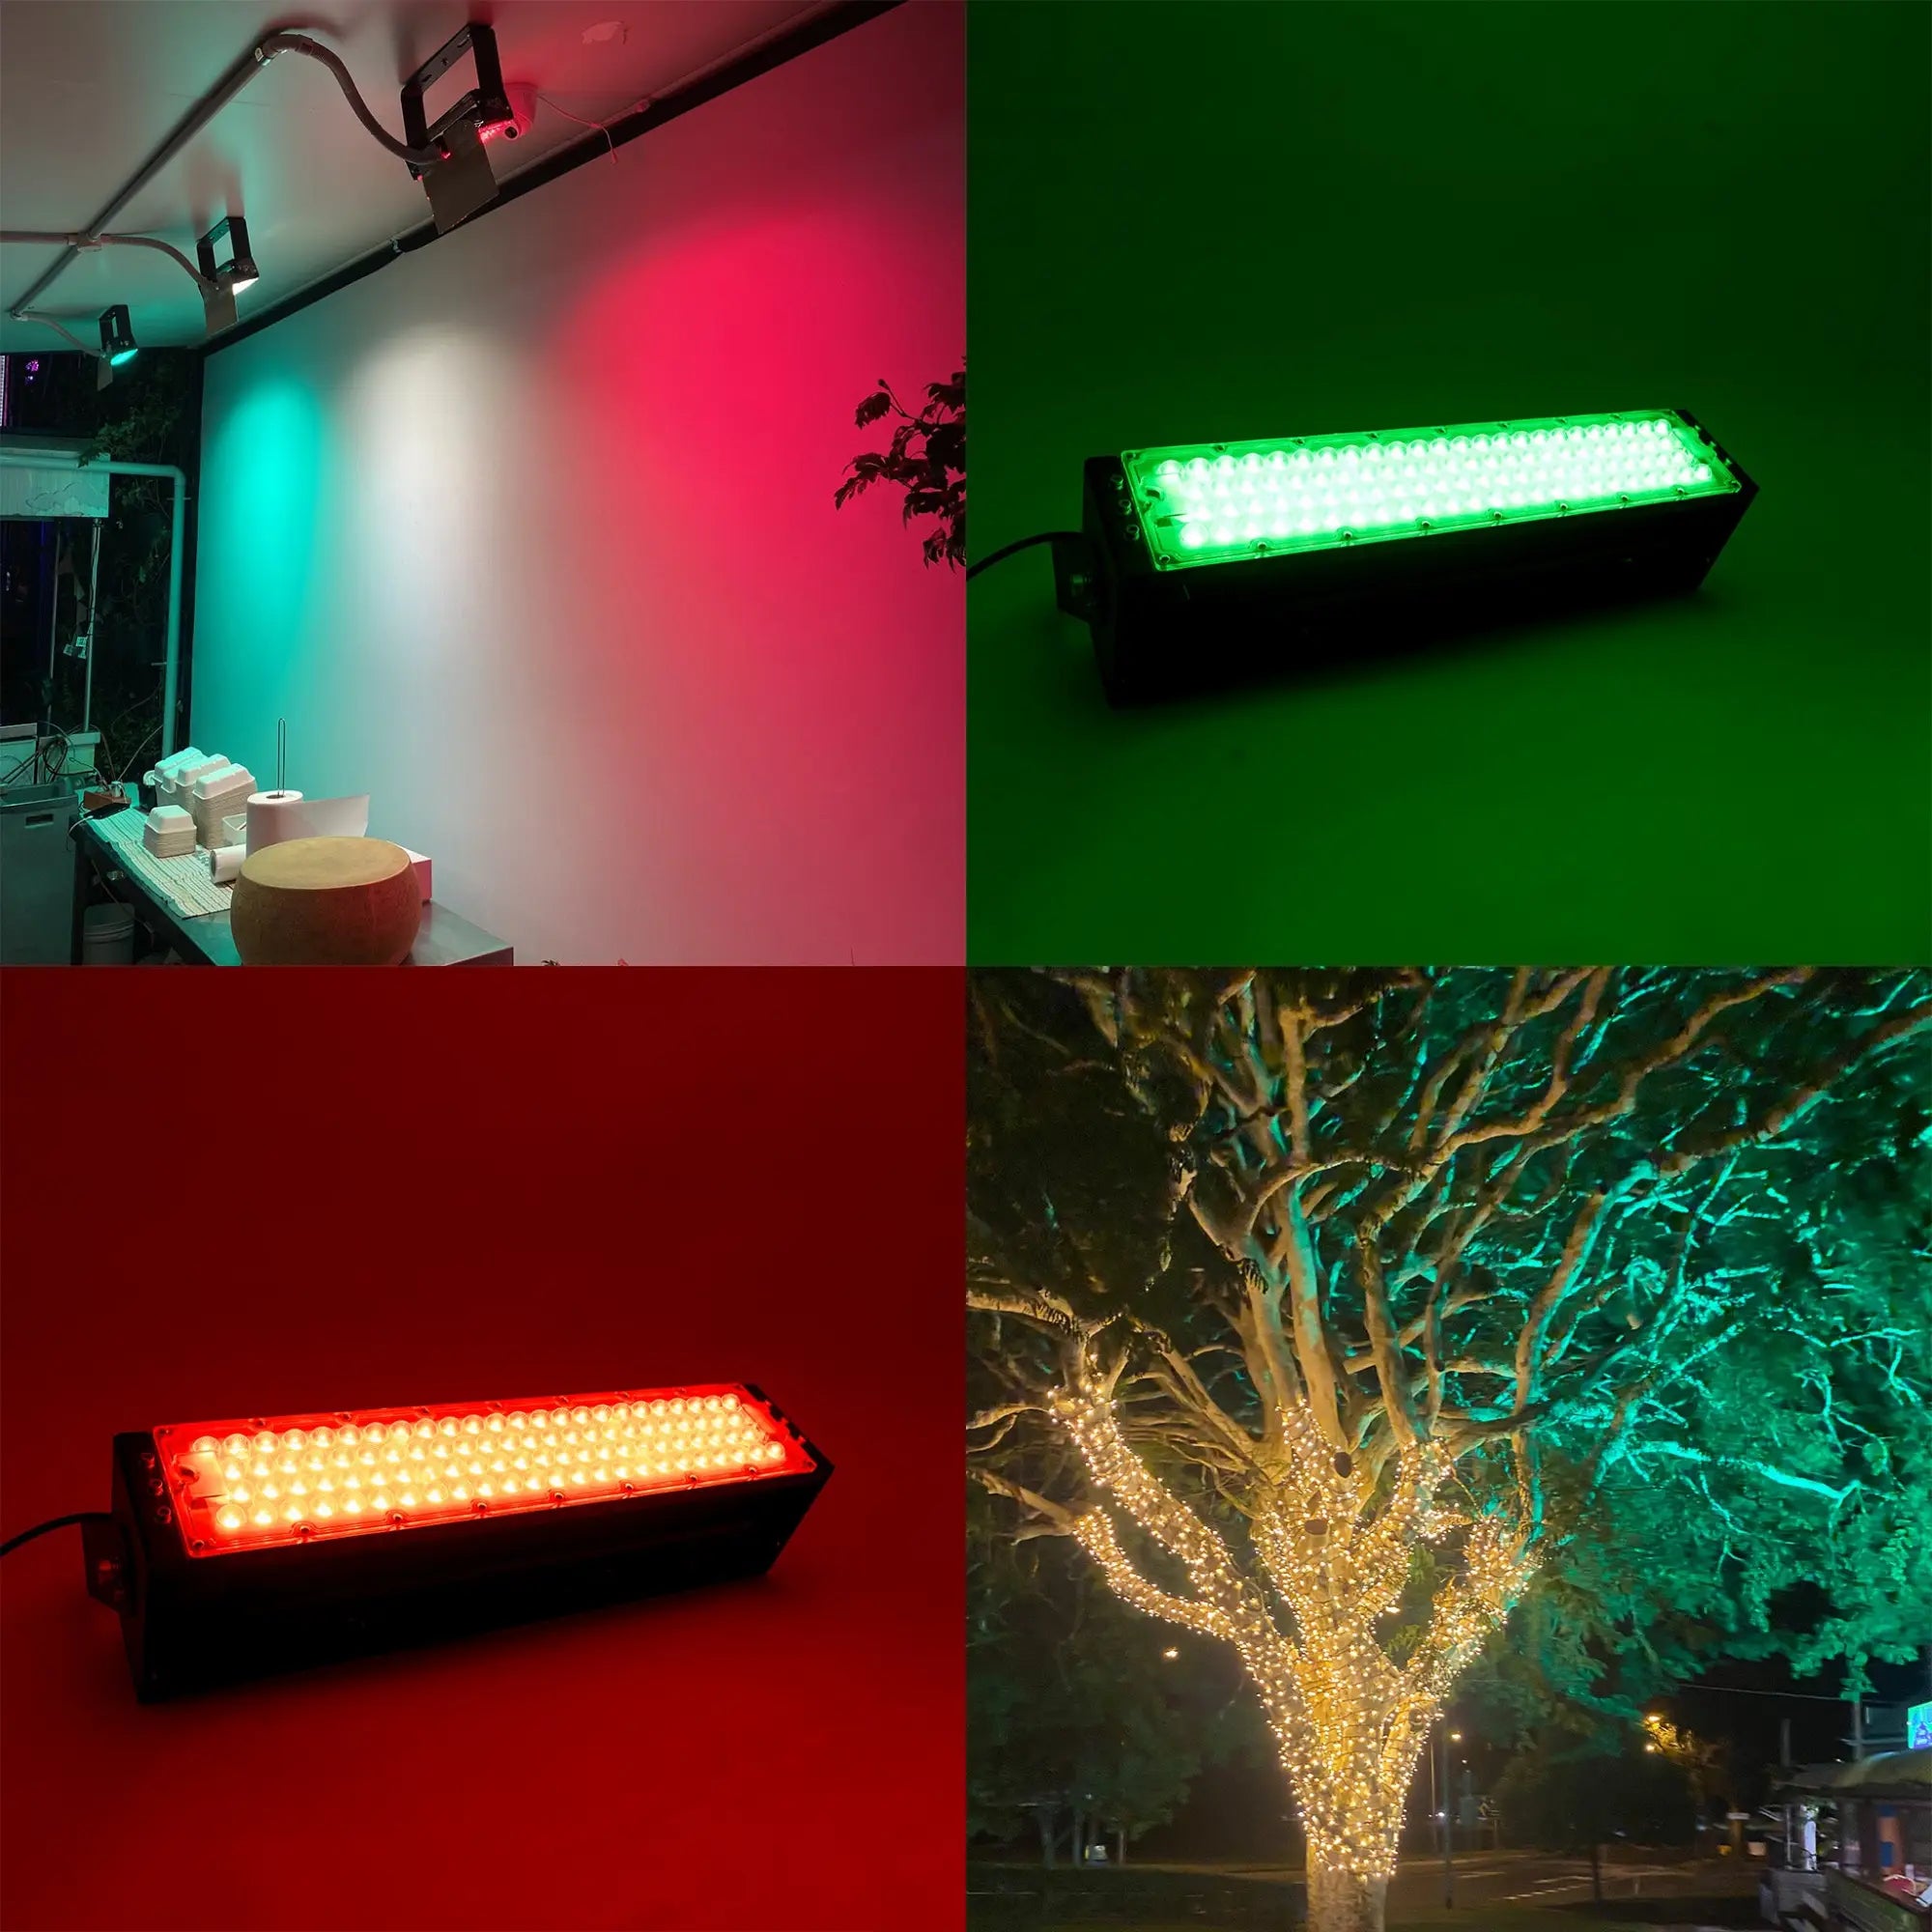
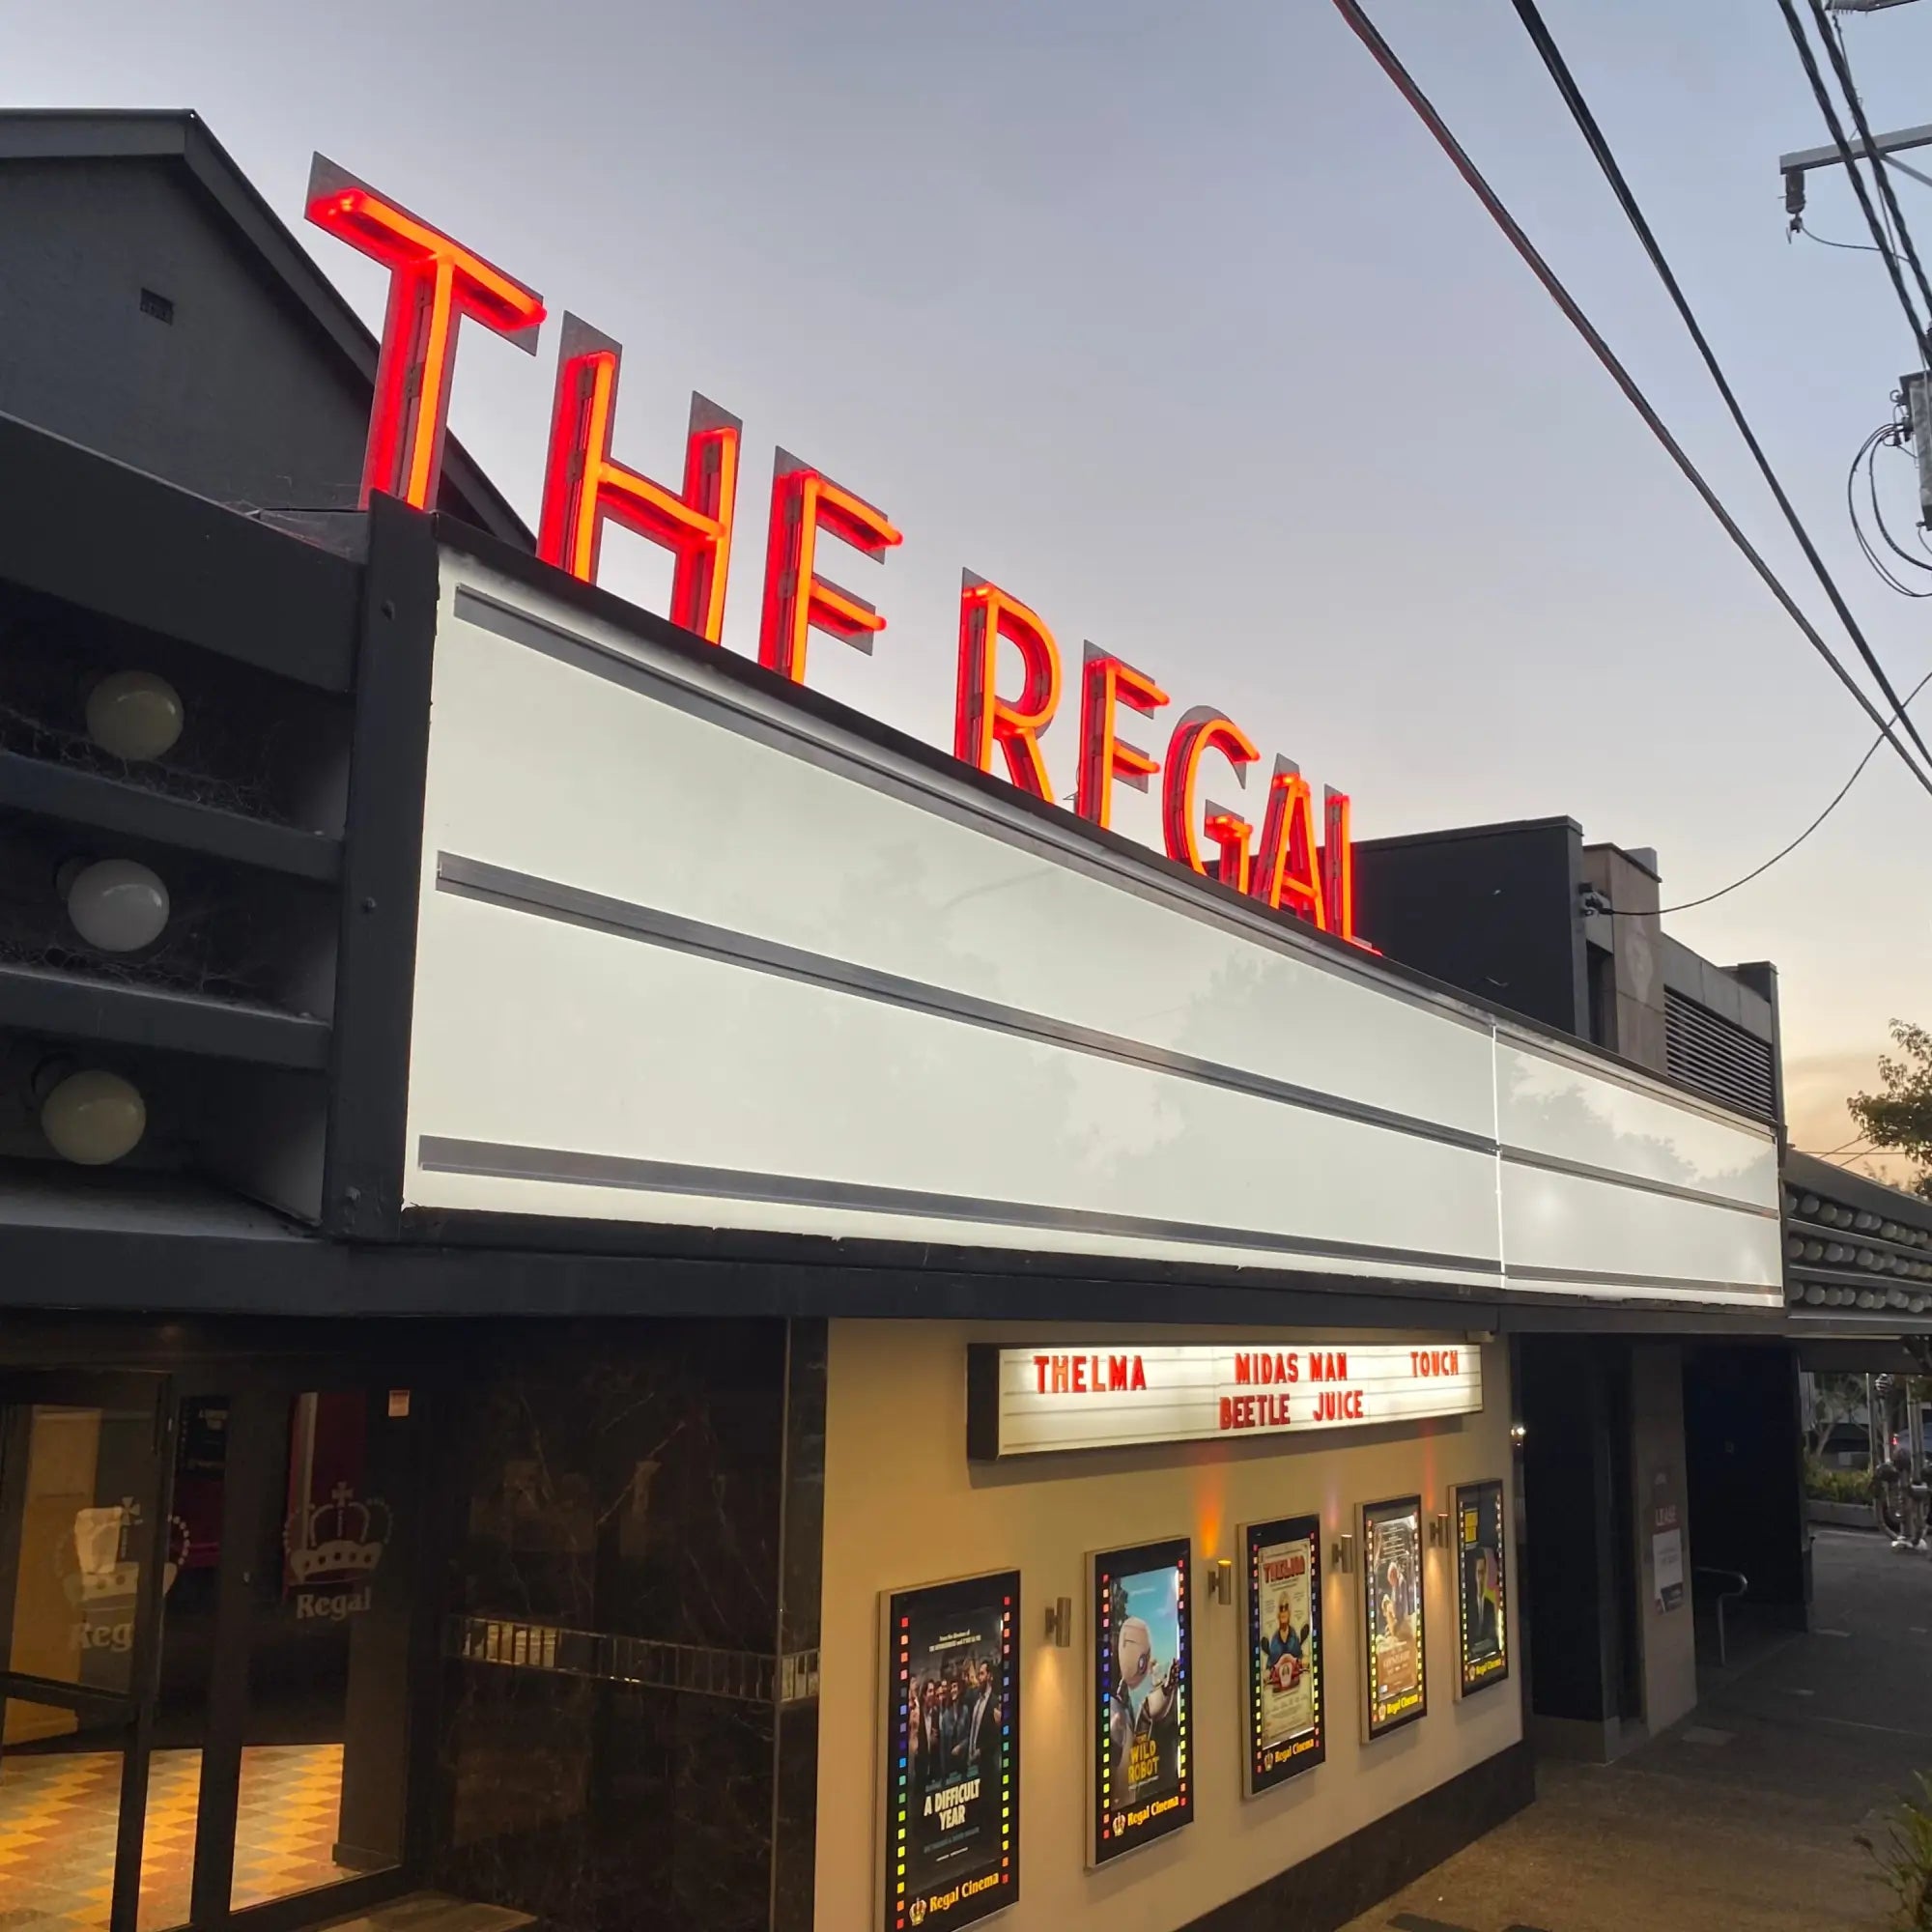
Top 5 Commercial Applications of Neon LED Strips
Read moreabout Top 5 Commercial Applications of Neon LED Strips
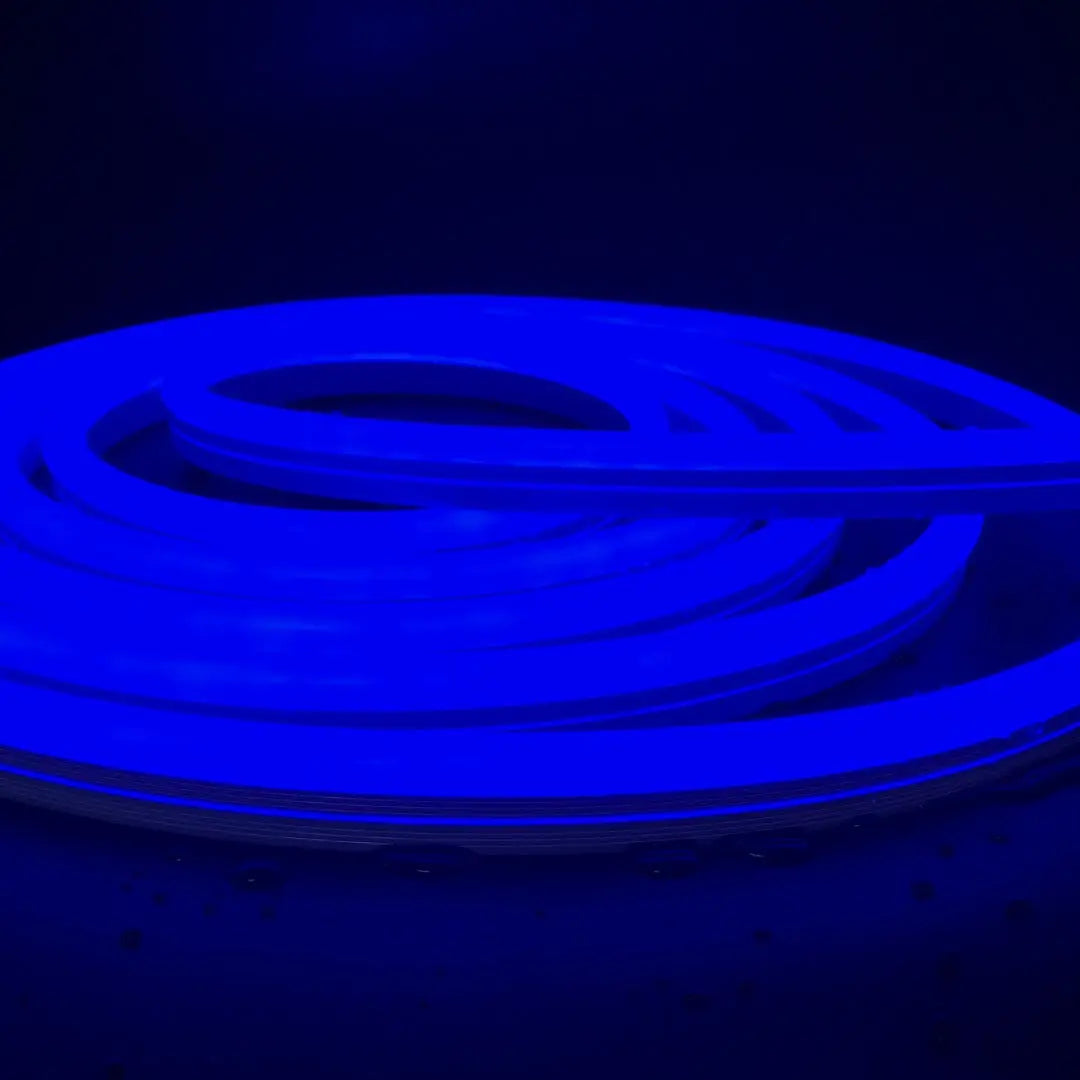
How to Install Neon LED Strips: Step-by-Step Tutorial
Installing Neon LED strips is an excellent way to bring a vibrant and modern look to your space, whether it's for commercial signage, architectural highlights, or creative lighting designs. At Flexible Neon, we offer a range of high-quality neon LED strips in various sizes and styles, including 6x12mm, 8x16mm, 8x10x16mm, 10x13x22mm, and 15x13mm. With the right tools and preparation, installing these neon LED strips is a straightforward process. In this step-by-step guide, we'll cover different mounting surfaces, installation methods, wiring instructions, and essential safety tips. Plus, we'll showcase the variety of mounting clips and channels we offer to make your installation as seamless as possible.
Read moreabout How to Install Neon LED Strips: Step-by-Step Tutorial
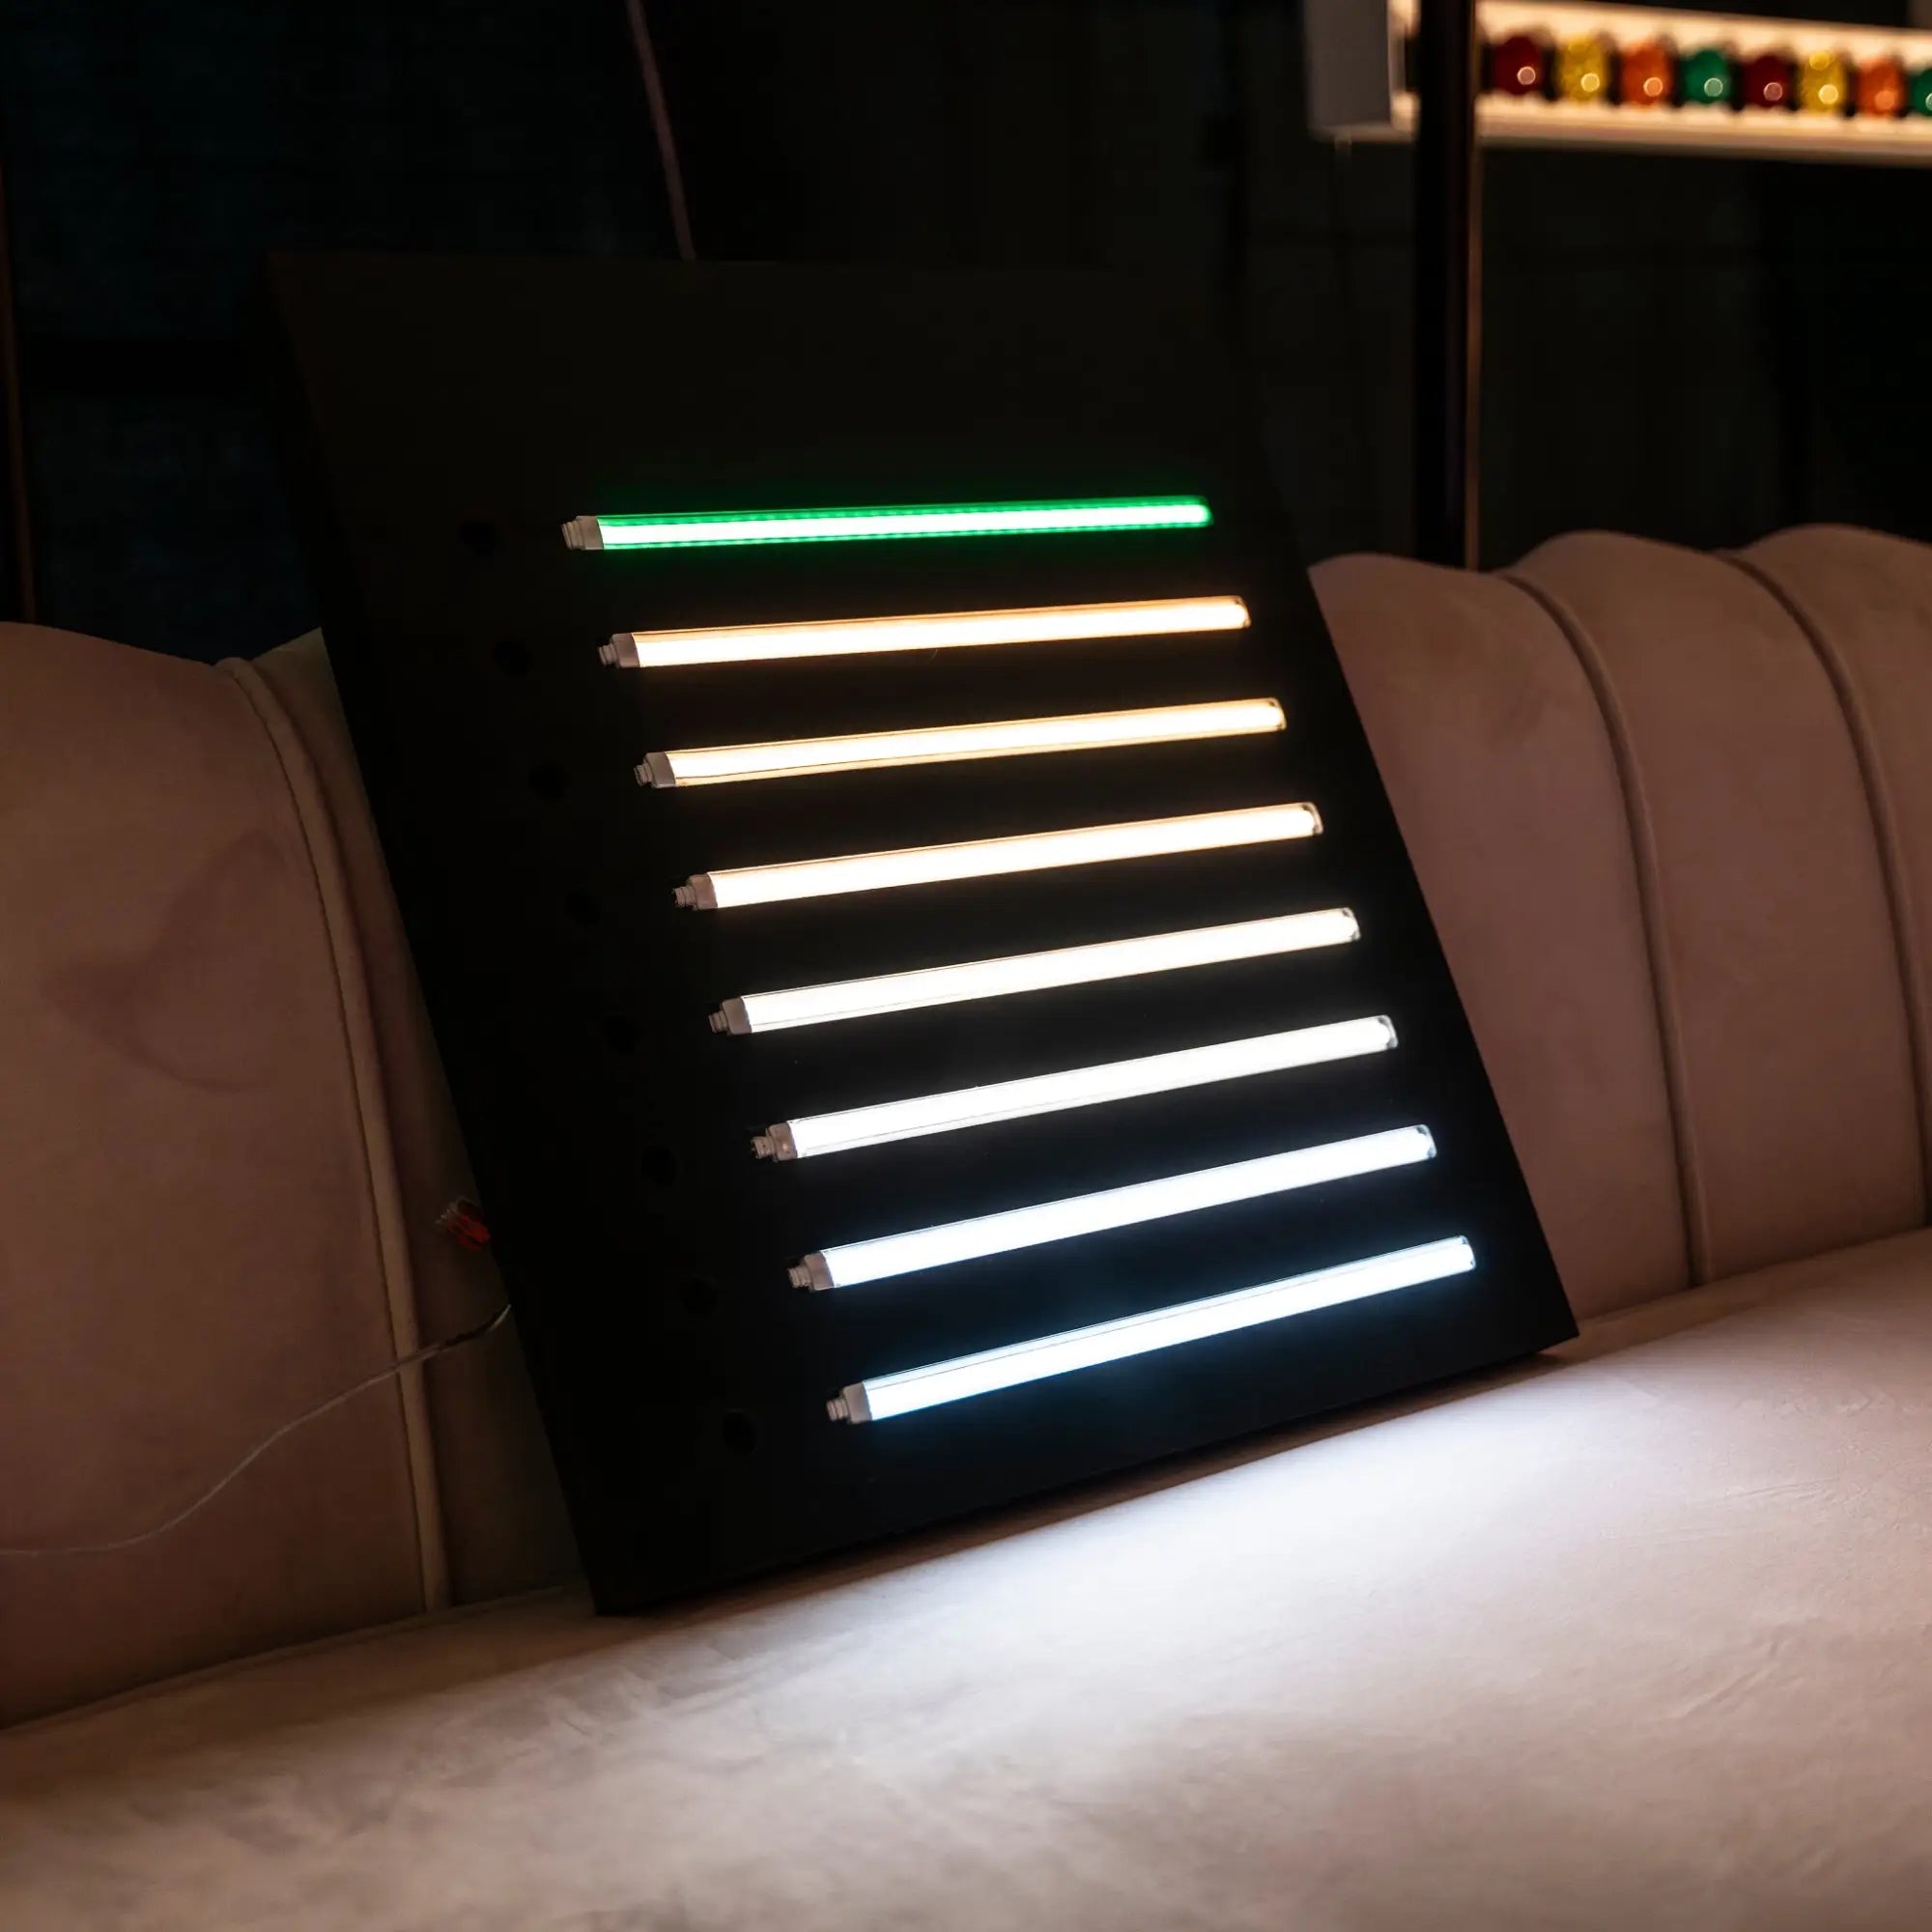
Understanding Lumens: A Comprehensive Guide for Choosing the Right Lighting
Read moreabout Understanding Lumens: A Comprehensive Guide for Choosing the Right Lighting
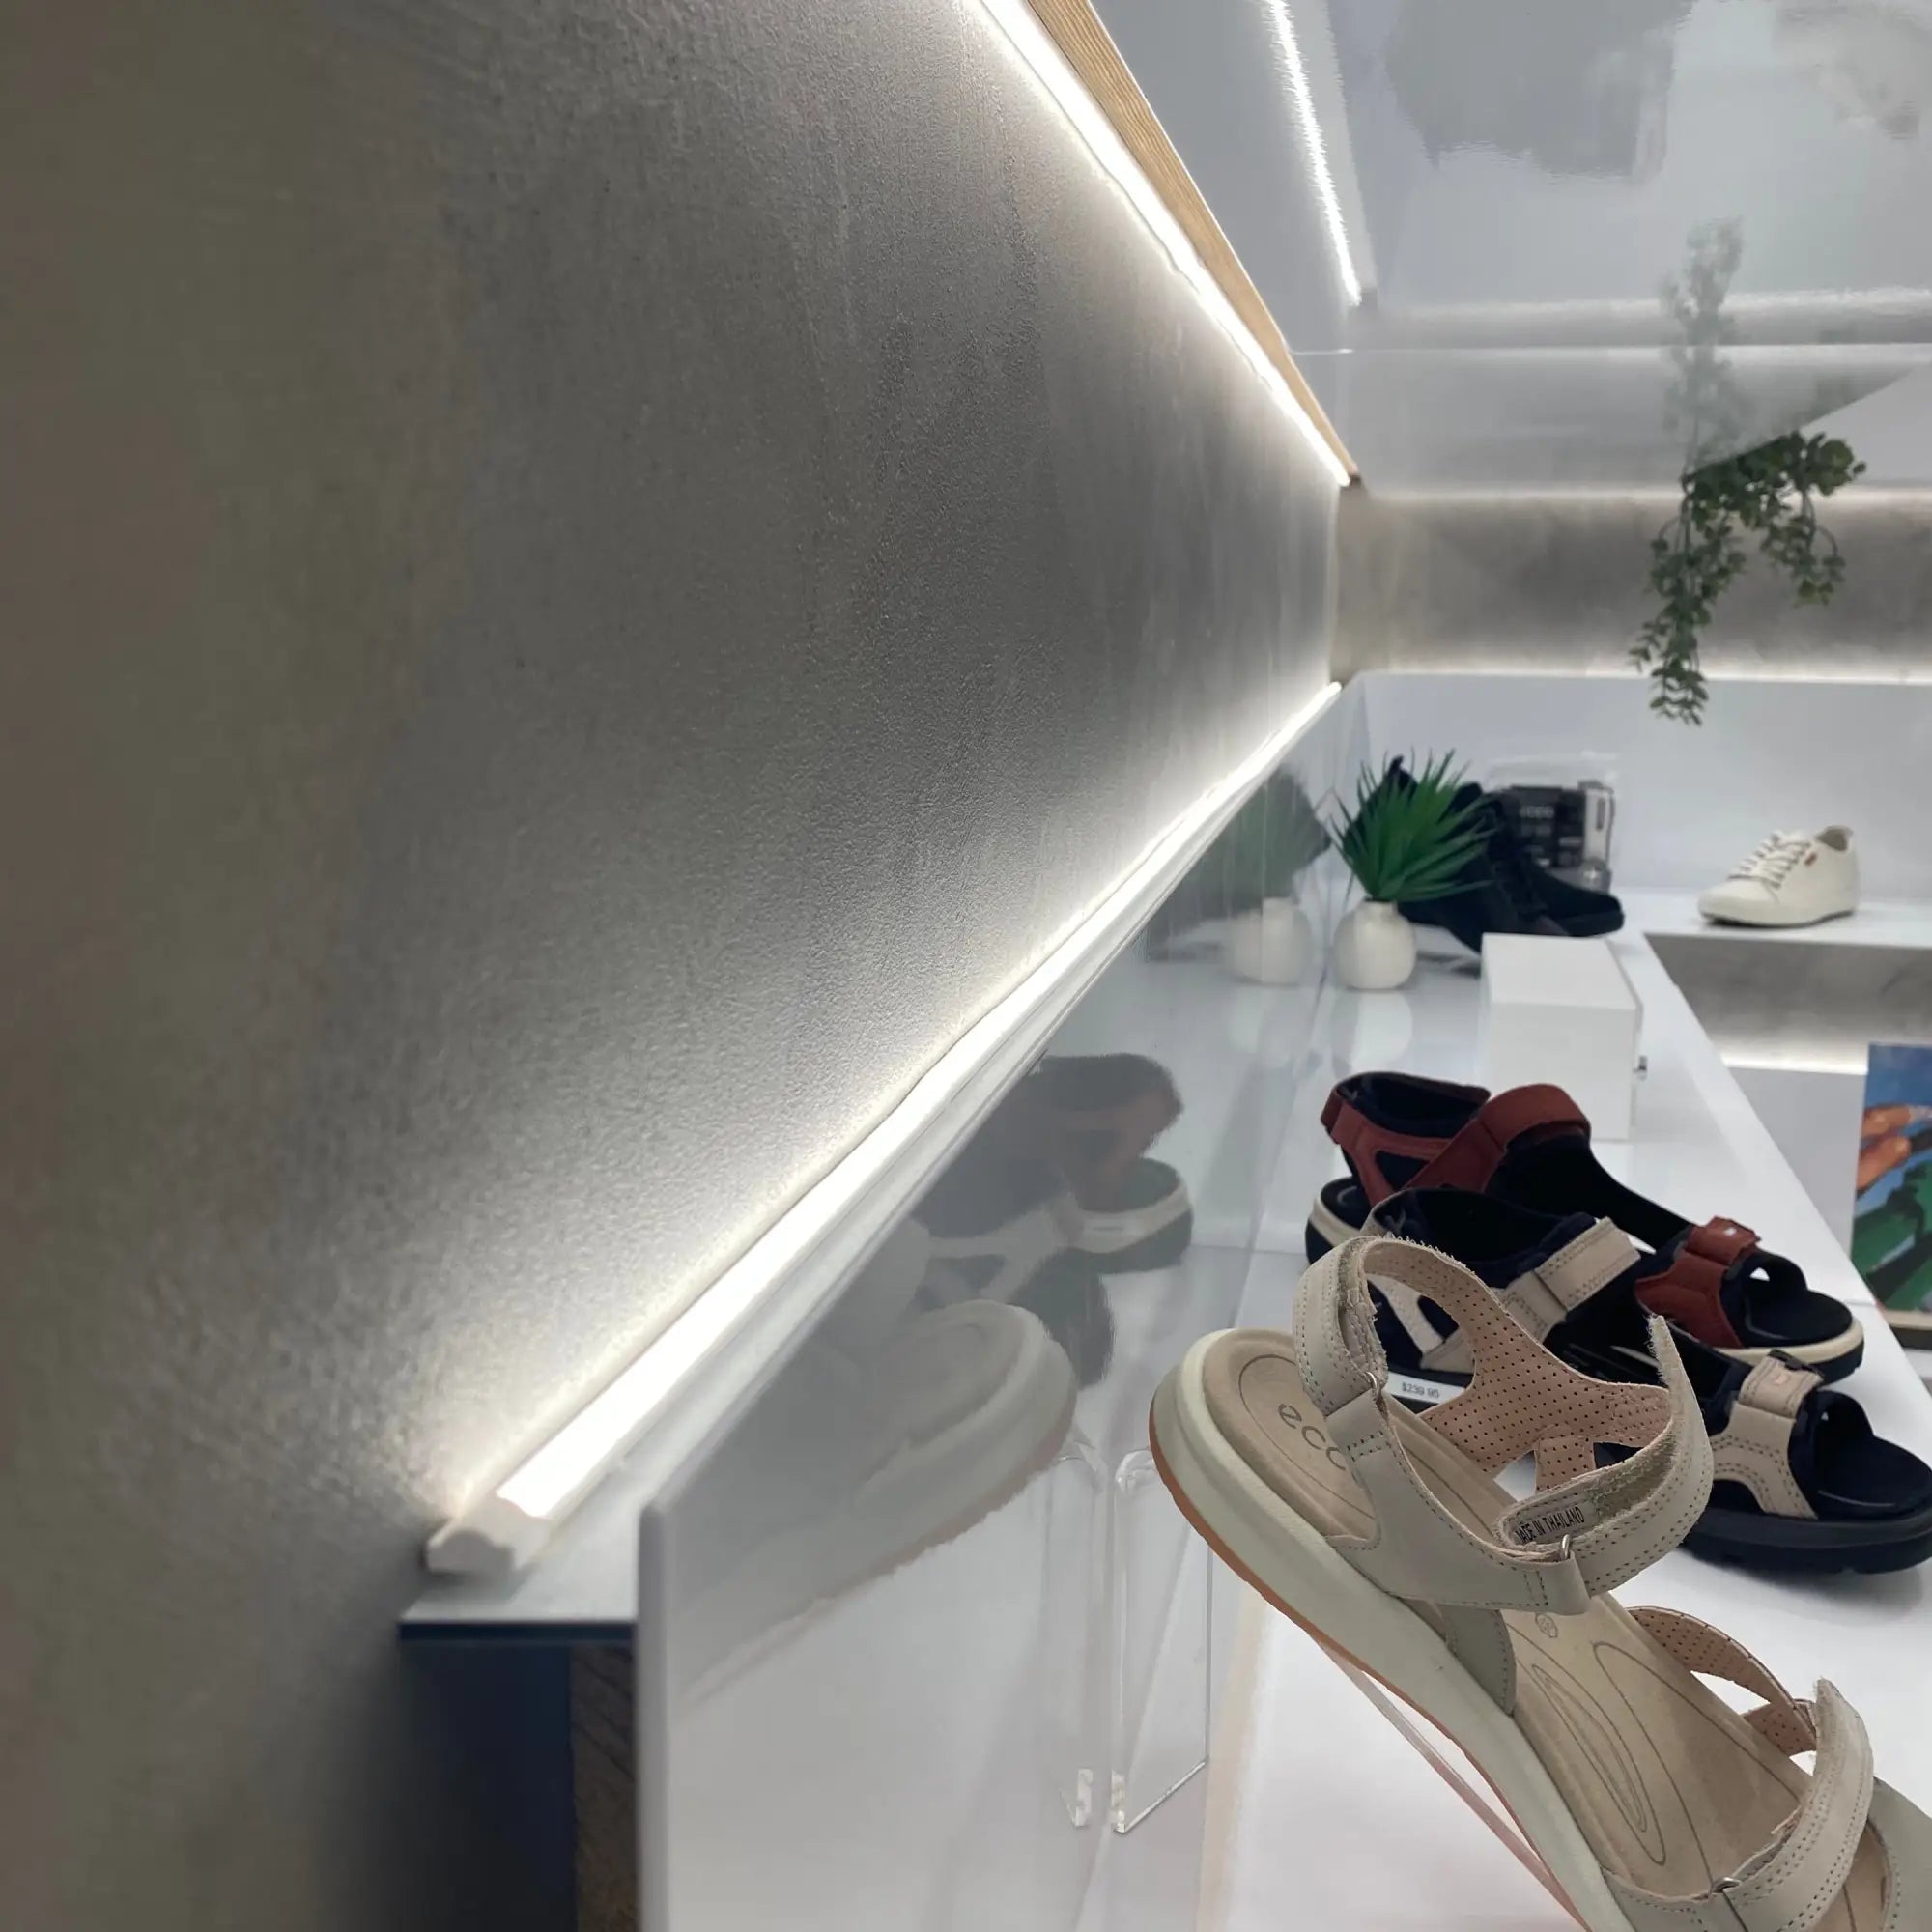
Enhance Your Retail Space with Neon LED Strips: A Guide for Business Owners
Read moreabout Enhance Your Retail Space with Neon LED Strips: A Guide for Business Owners