Connecting low voltage wires together is a common task when working with lighting systems like festoon cables, LED drivers, dotless strips, modules, flexible neon, and more. Follow this detailed guide to ensure safe and reliable connections for your low voltage lighting projects.
Materials You Will Need:
- Low voltage wires (such as festoon cable, dotless strip wires, module wires, or flexible neon wires).
- Wire cutters/strippers.
- Soldering iron and solder (for permanent connections, if needed).
- Heat shrink tubing (for added insulation and protection).
- Wire connectors (such as wire nuts, butt connectors, or crimp connectors).
- Electrical tape (as an alternative to heat shrink tubing).
- Cable ties (for cable management).
- Heat gun or lighter (if using heat shrink tubing).
- Safety gear: Safety goggles and heat-resistant gloves.
Procedure:
1. Safety First:
- Always work in a well-ventilated area.
- Wear safety goggles and heat-resistant gloves to protect your eyes and hands.
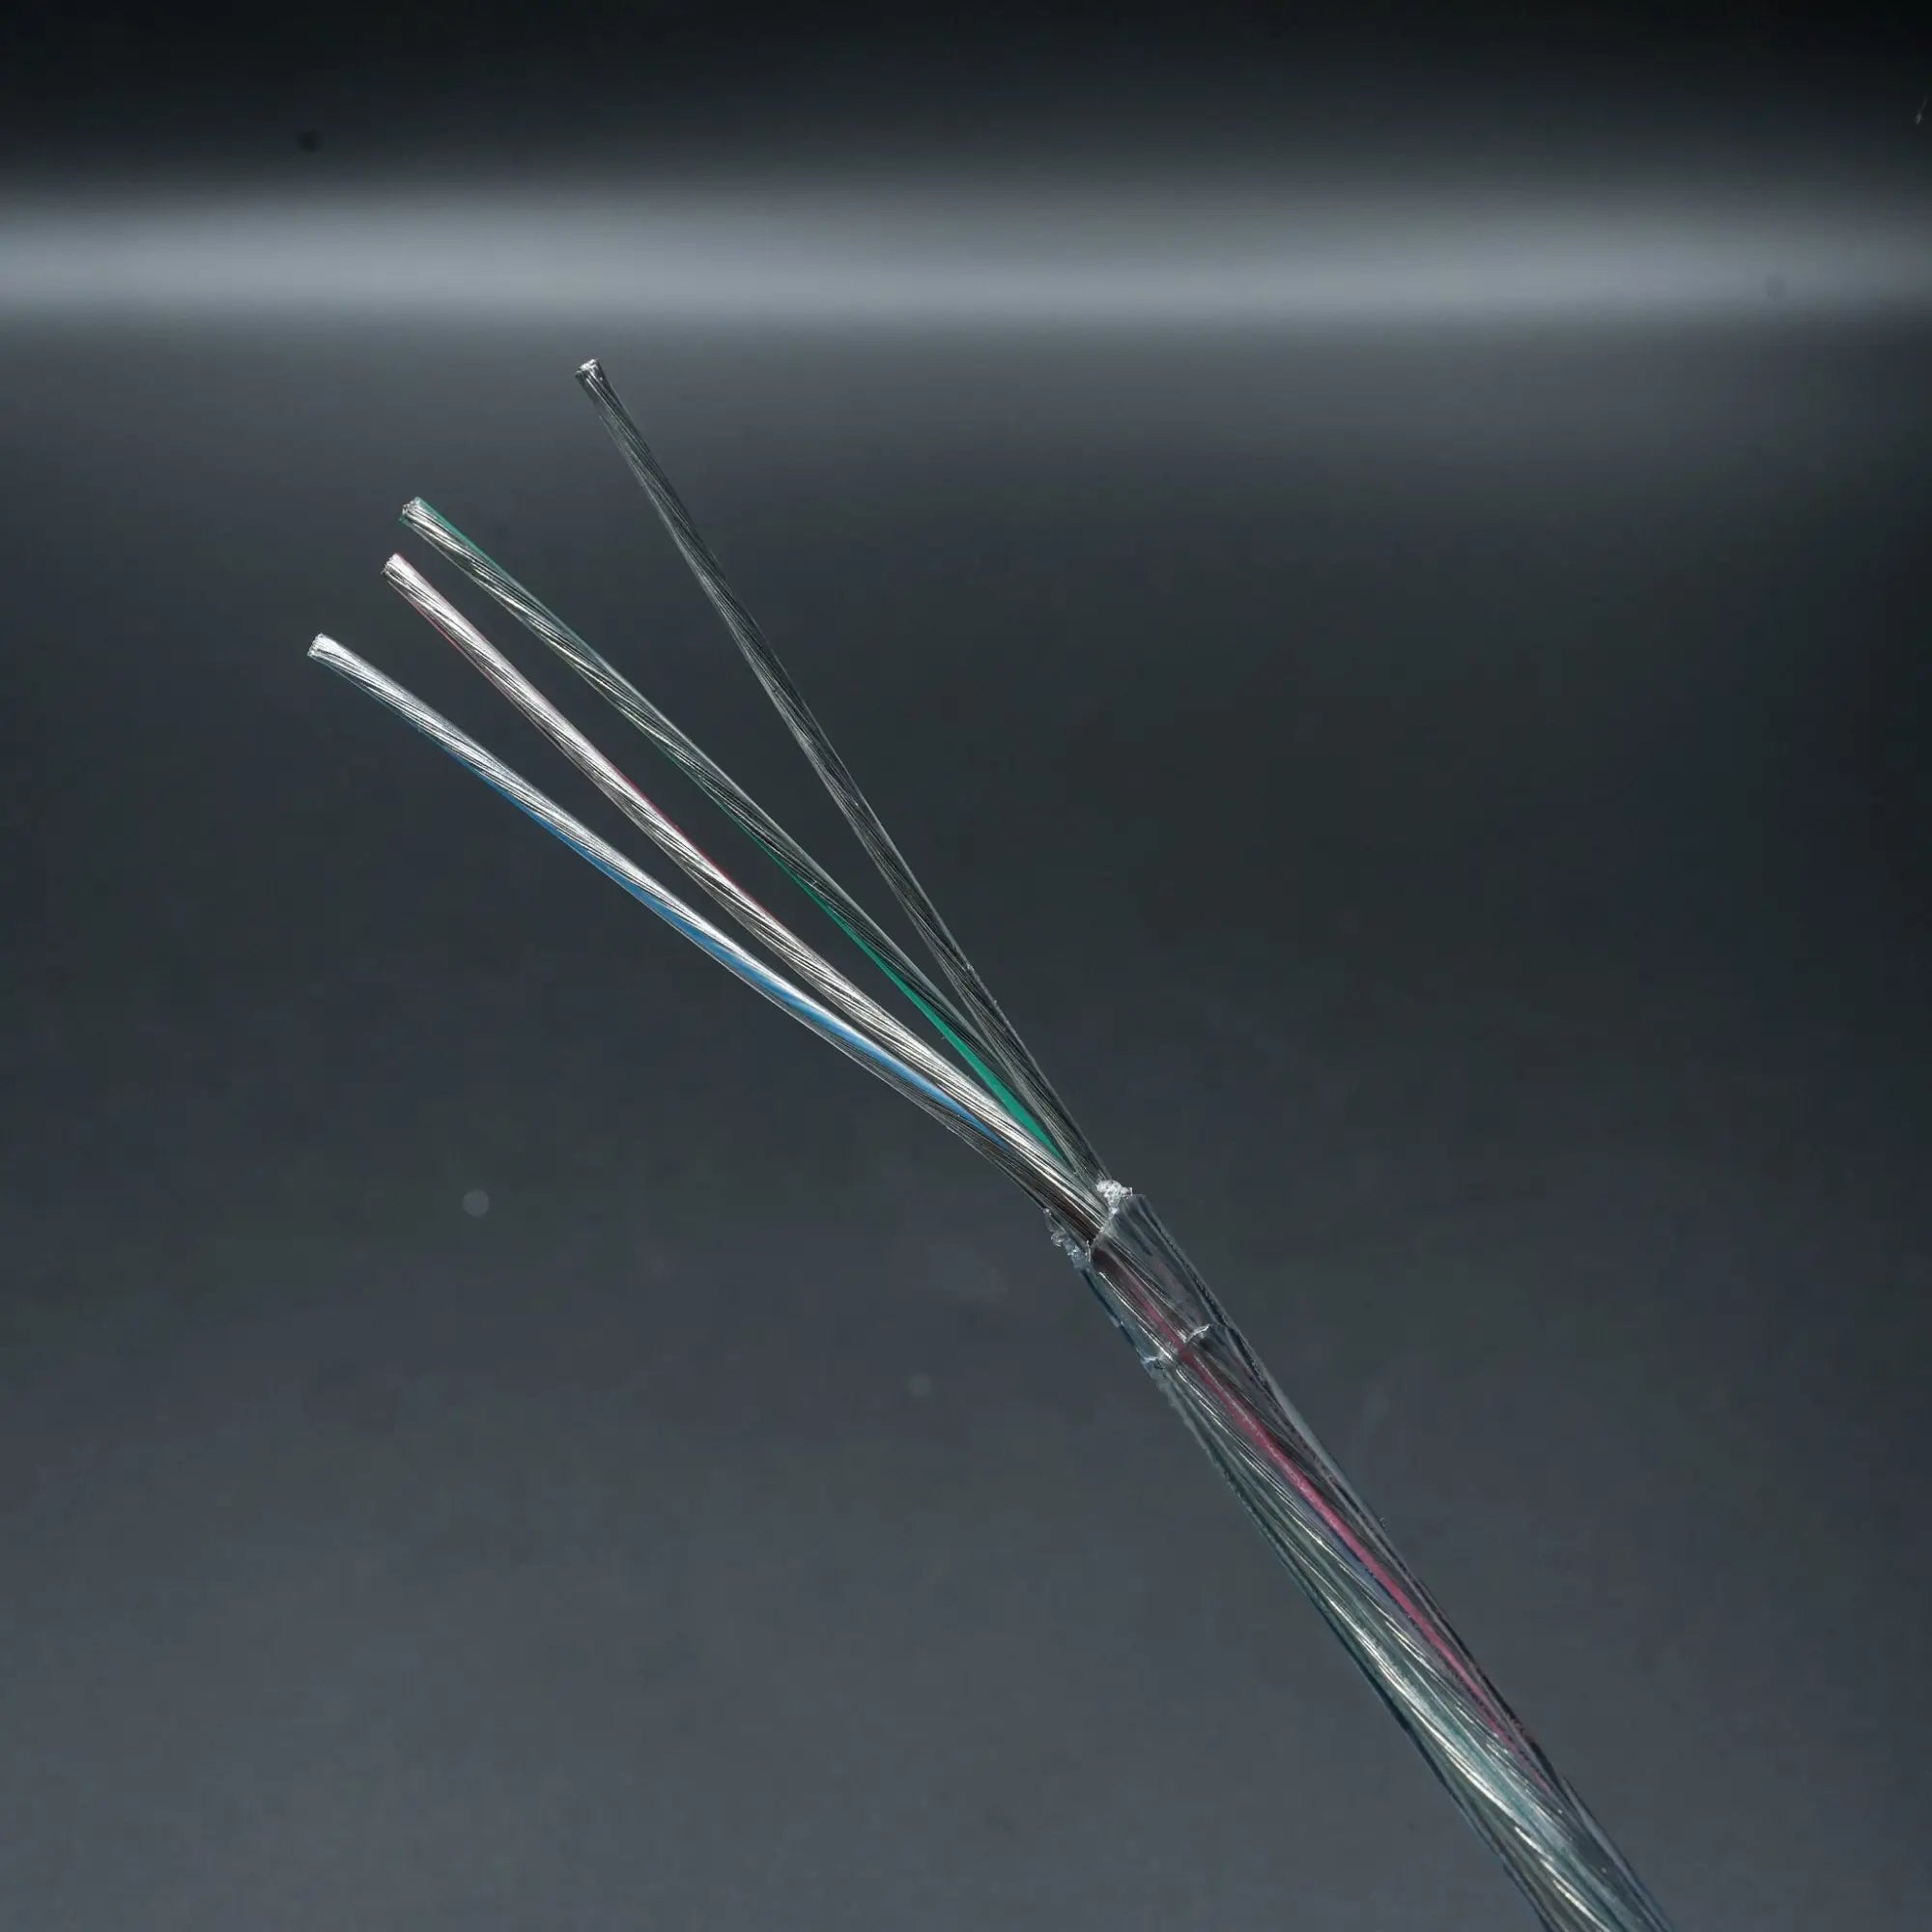
2. Prepare the Wires:
- Ensure that the low voltage wires you plan to connect are clean, undamaged, and stripped of any damaged insulation.
- Strip the ends of the wires to expose approximately 1/4 to 1/2 inch (6-12 mm) of bare wire. Use wire strippers to do this.
3. Choose the Connection Method:
Wire Connectors (WAGO):
- Wire connectors are a quick and reliable way to connect low voltage wires together. They come in various sizes to accommodate different wire gauges.
- To use wire connectors:
- Insert the prepared wires into the open slots of the WAGO connector. Make sure that each wire goes into its designated slot based on size and polarity.
- Once the wires are inserted correctly, close the clamping unit securely. This action will grip the wires tightly, establishing a secure connection.
- Ensure that the wires are held firmly in place by gently tugging on them.
Soldering (for Permanent Connections):
- Soldering provides a strong and secure connection. This method is ideal for applications where you don't want any chance of wires coming loose.
- To solder wires together:
- Twist the exposed ends of the wires together.
- Heat your soldering iron to the appropriate temperature for your solder.
- Apply the soldering iron to the twisted wires to heat them.
- Apply solder to the heated wires, allowing it to flow evenly over the twisted area.
- Remove the soldering iron and let the solder cool and solidify. Ensure the wires are held in place until the solder hardens.
- Optionally, slide heat shrink tubing over the soldered area and use a heat gun or lighter to shrink it for added protection.
4. Insulate the Connection:
- If using wire connectors, they provide built-in insulation.
- If soldering, slide heat shrink tubing over the soldered area or use electrical tape to insulate the connection.
- If using heat shrink tubing, apply heat evenly using a heat gun or lighter until the tubing shrinks and seals the connection tightly. Ensure there are no gaps in the tubing.
5. Secure and Organise the Wires:
- Use cable ties or clips to secure and organise the connected wires, keeping them neat and tidy.
6. Test the Connection:
- Before energising your lighting system, test the connection to ensure it's secure and functioning correctly.
7. Repeat as Needed:
- Repeat the above steps for all the low voltage wire connections in your project.
By following these steps, you can safely and effectively connect low voltage wires for your festoon cables, dotless strips, modules, flexible neon, and other low voltage lighting applications. Always adhere to safety guidelines and manufacturer recommendations for your specific lighting products.


Share: