
Extra Low Voltage Lighting Help Center
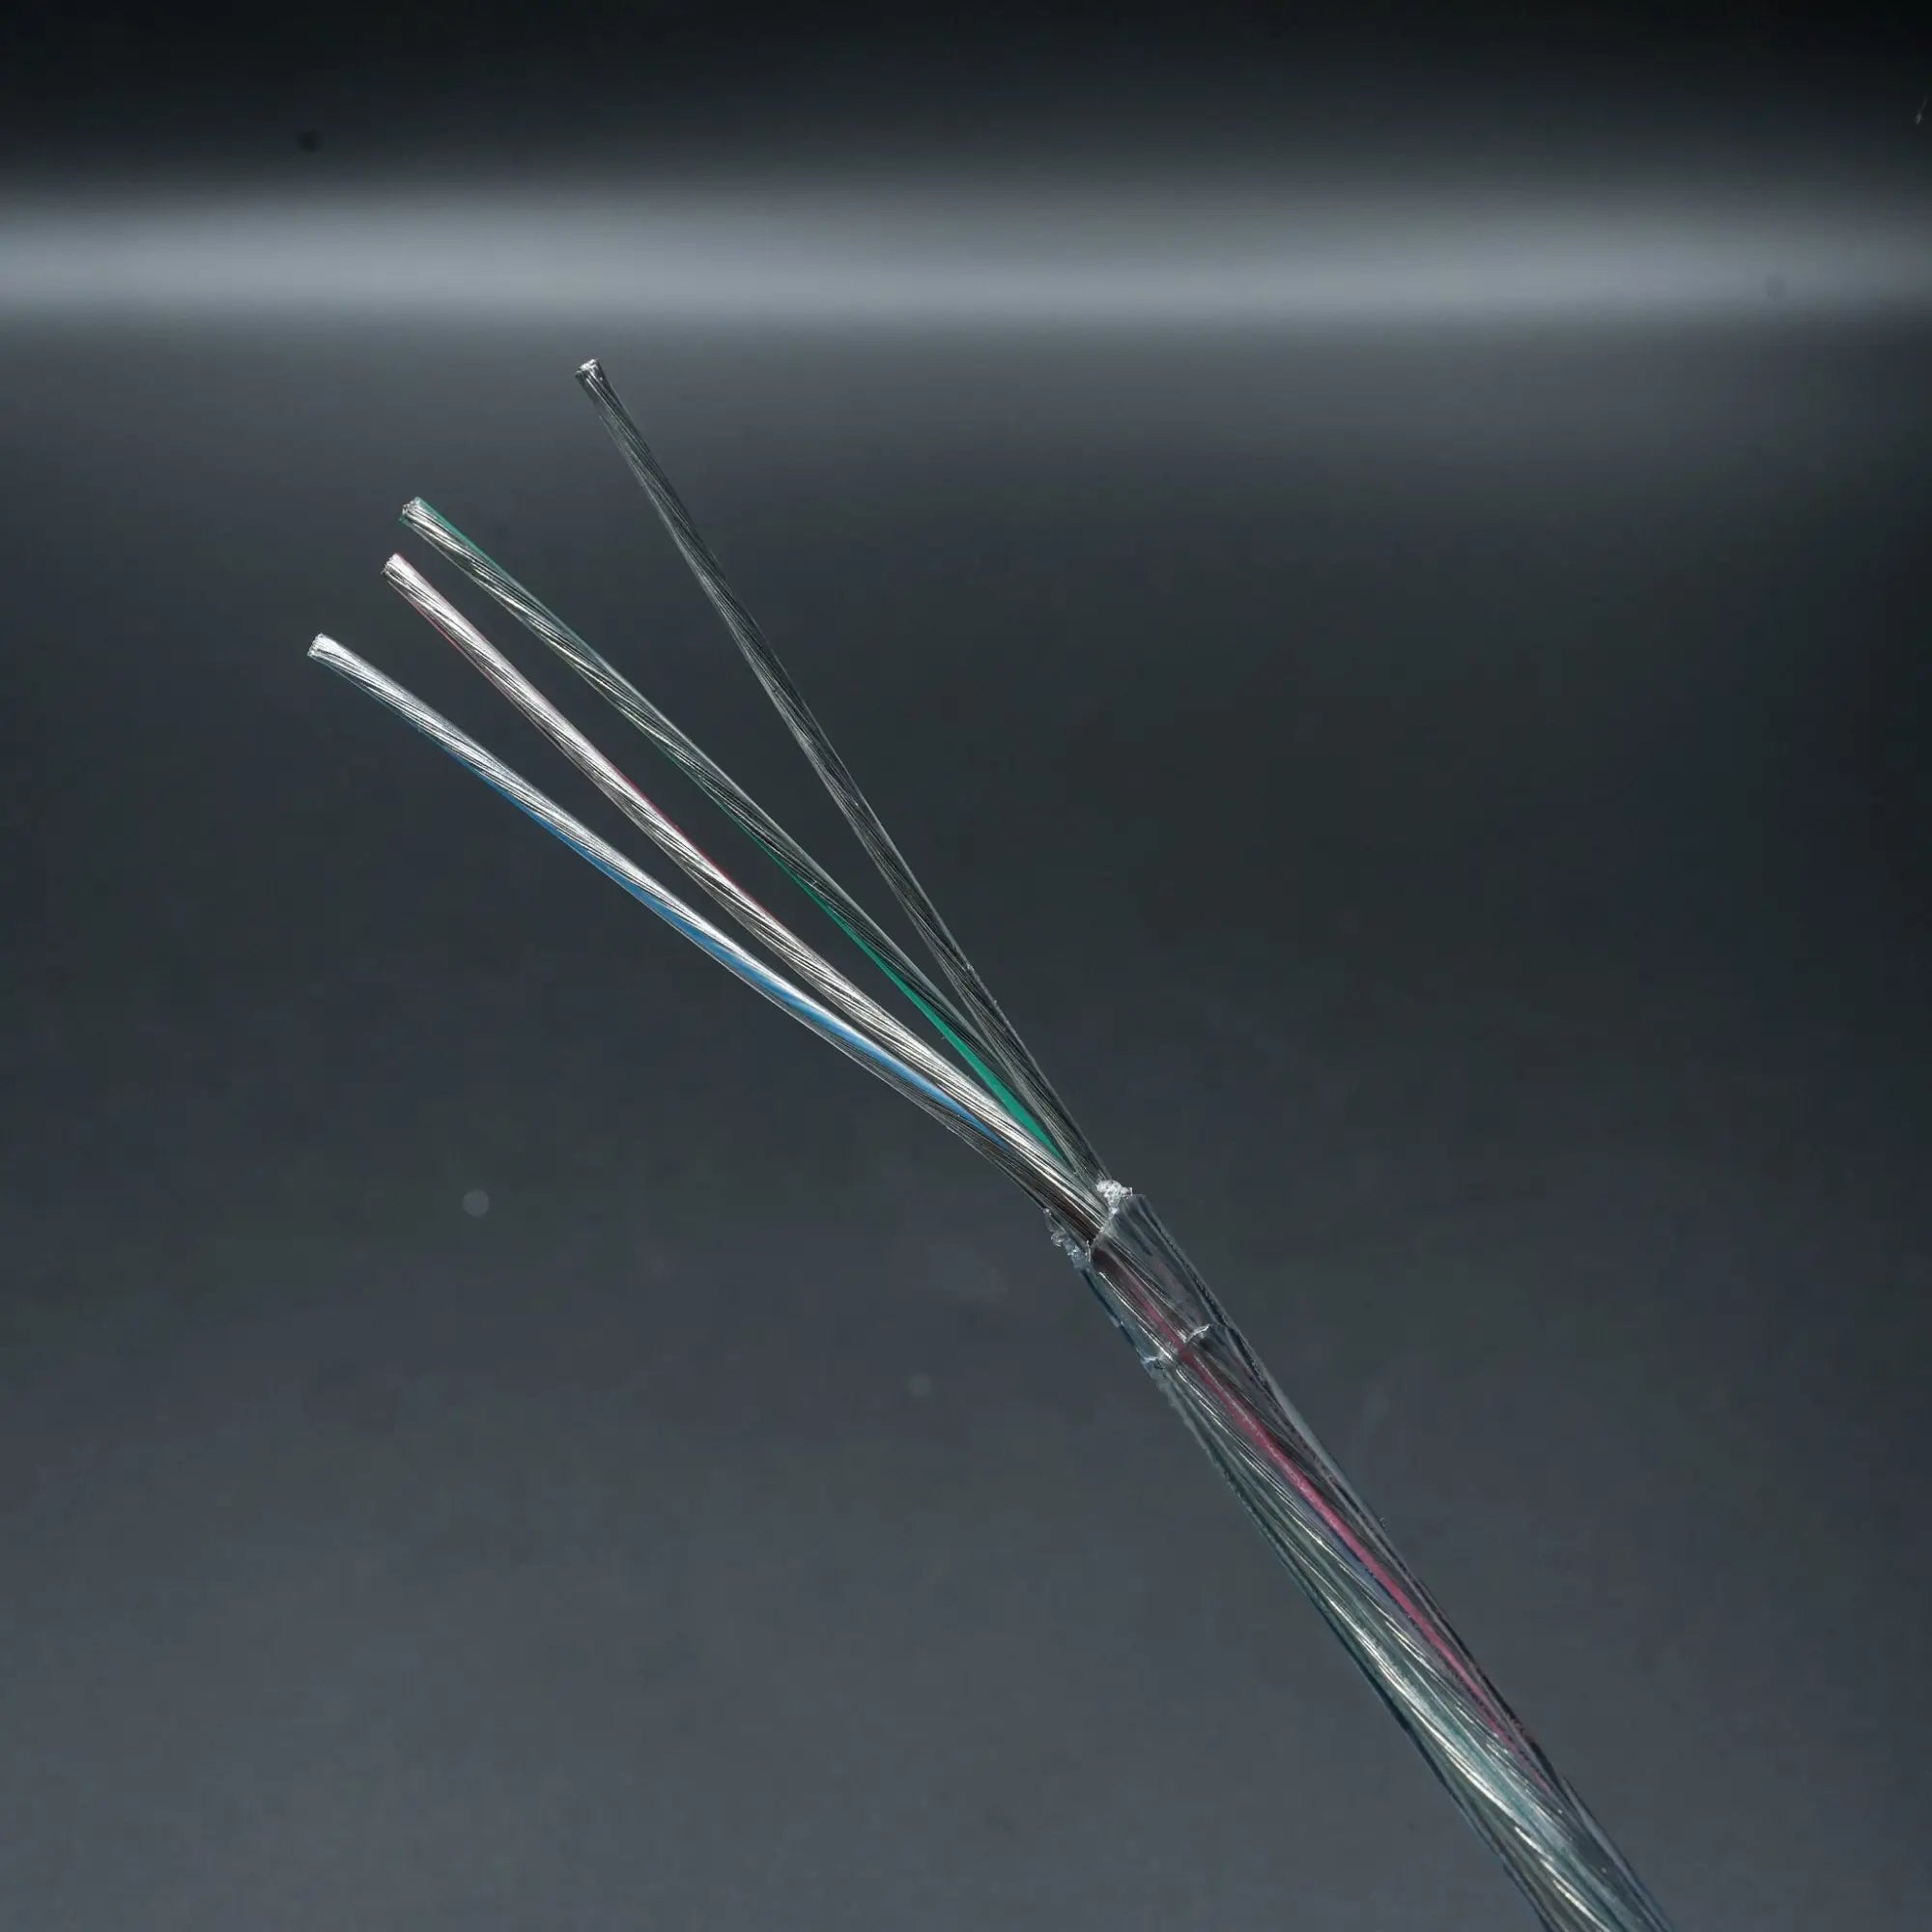
Connecting Low Voltage Wires to Flexible Neon Product
Read moreabout Connecting Low Voltage Wires to Flexible Neon Product
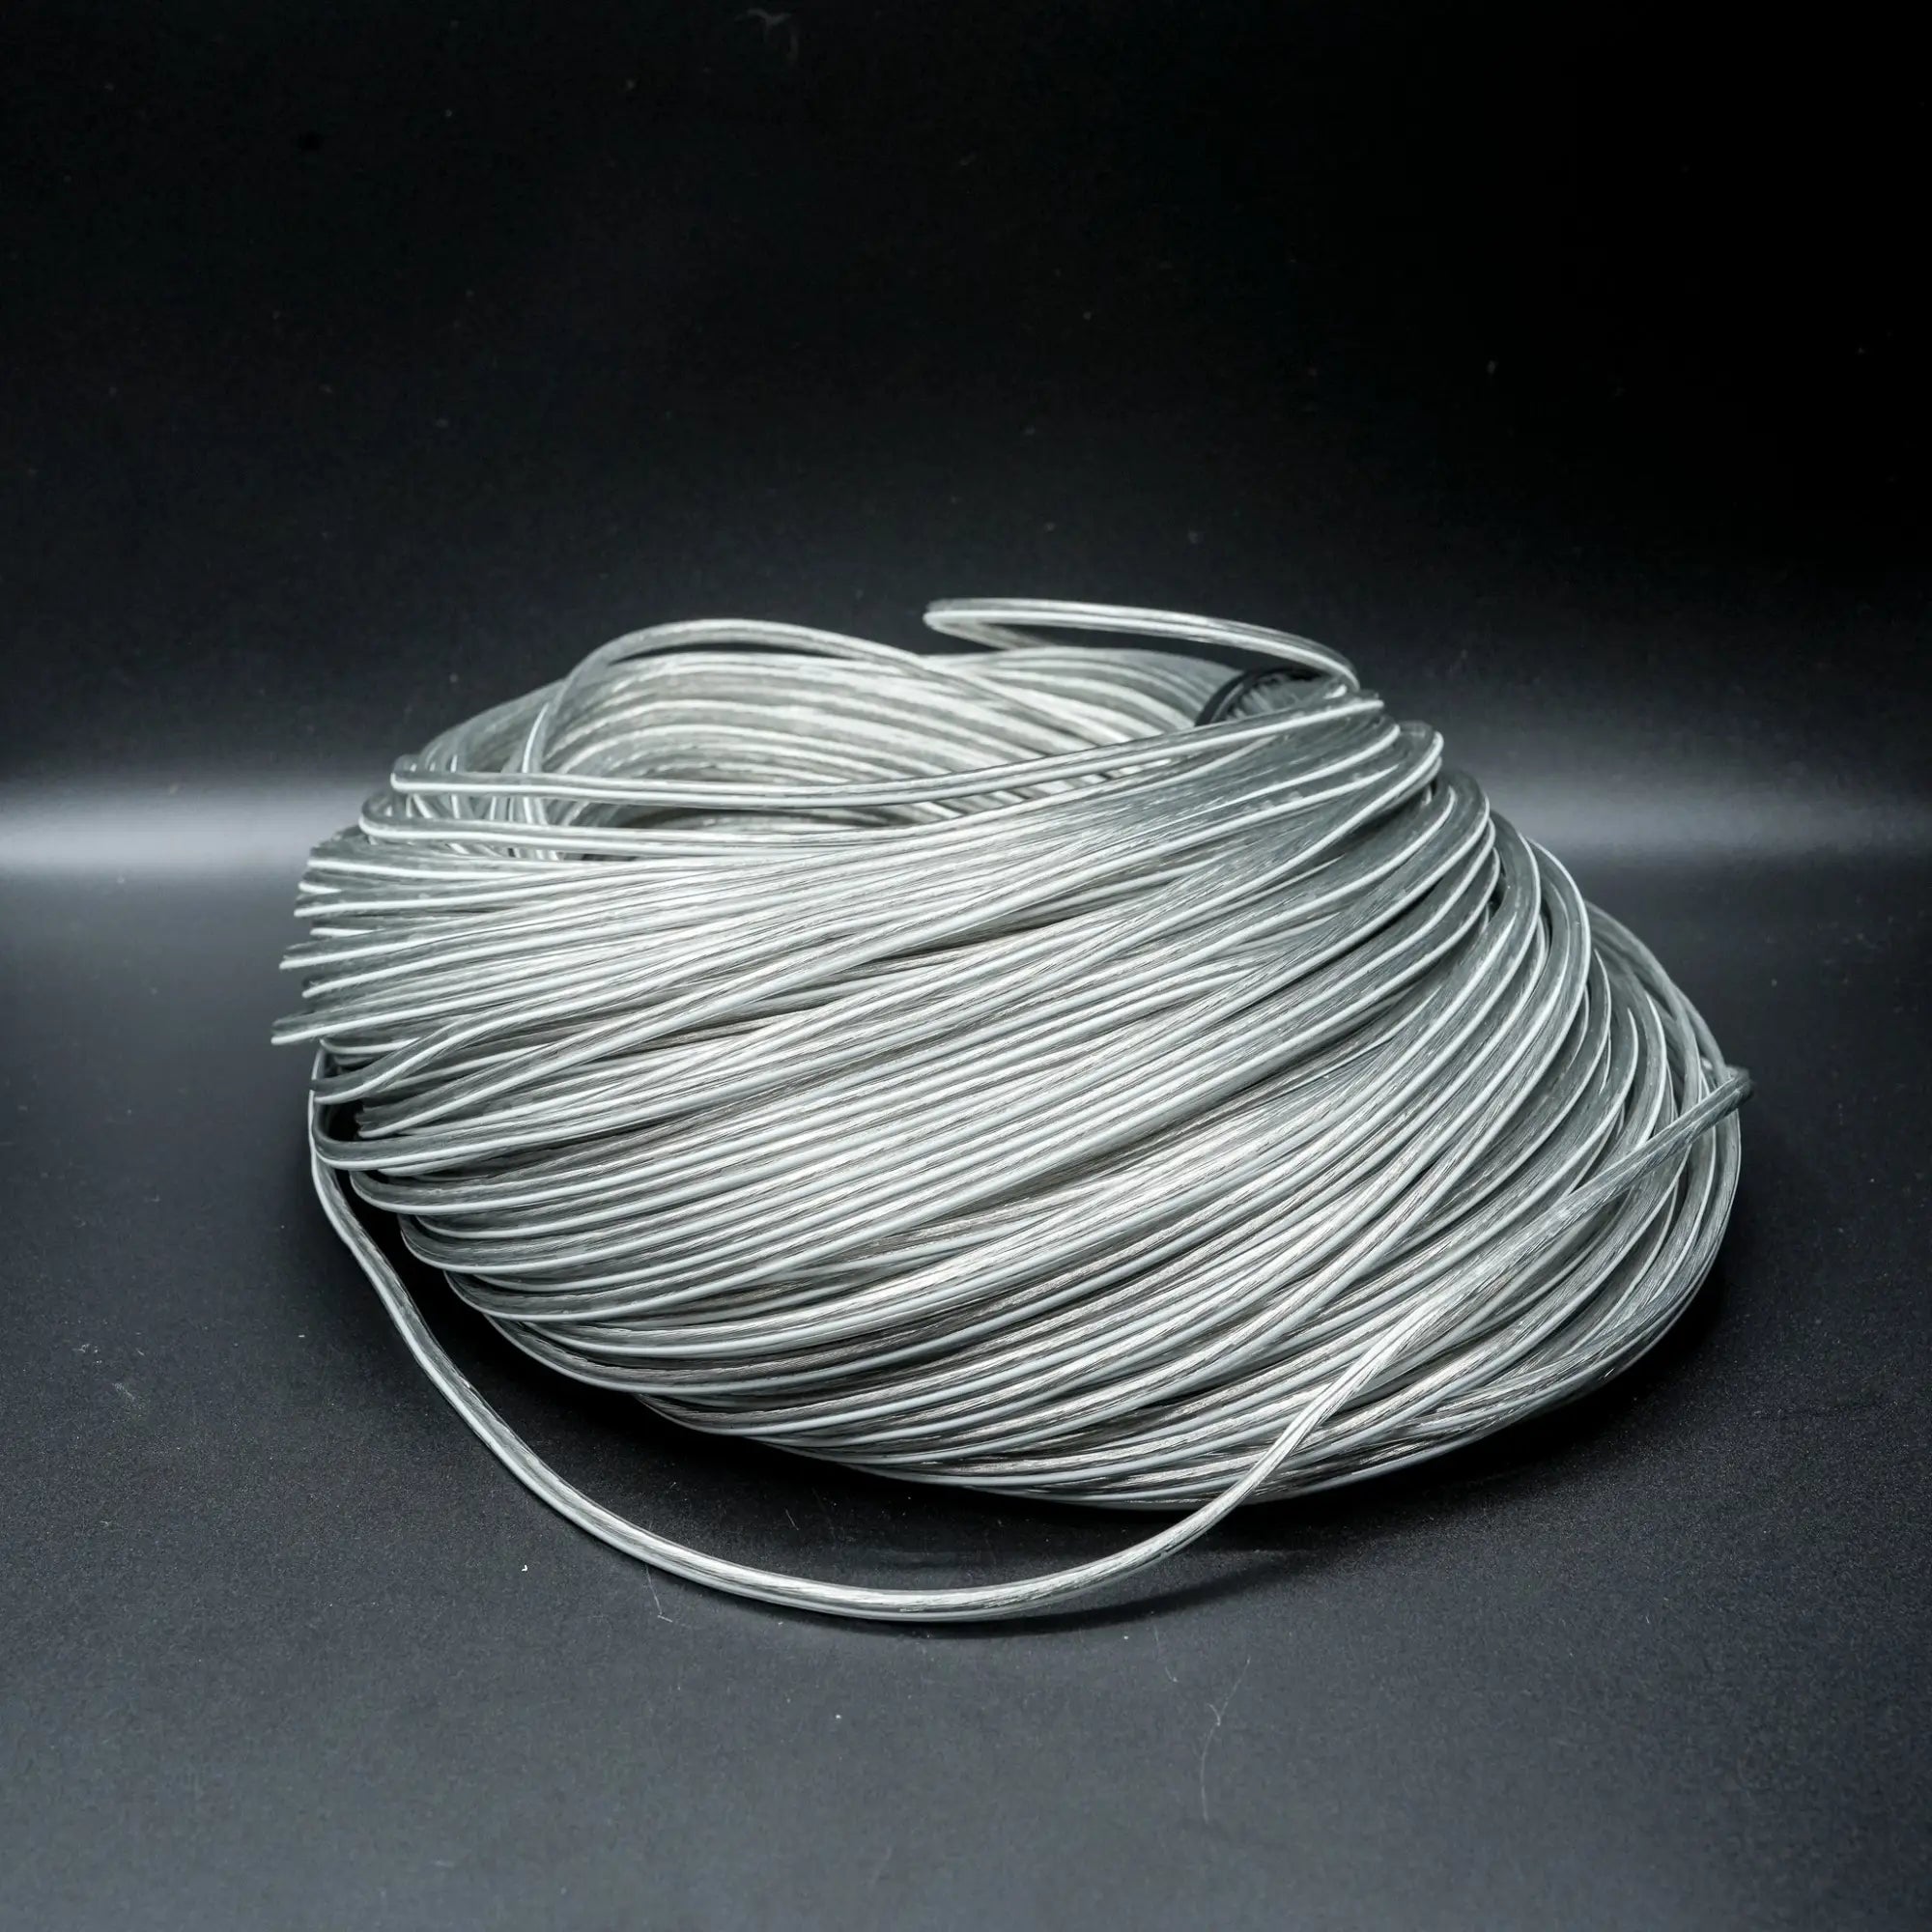
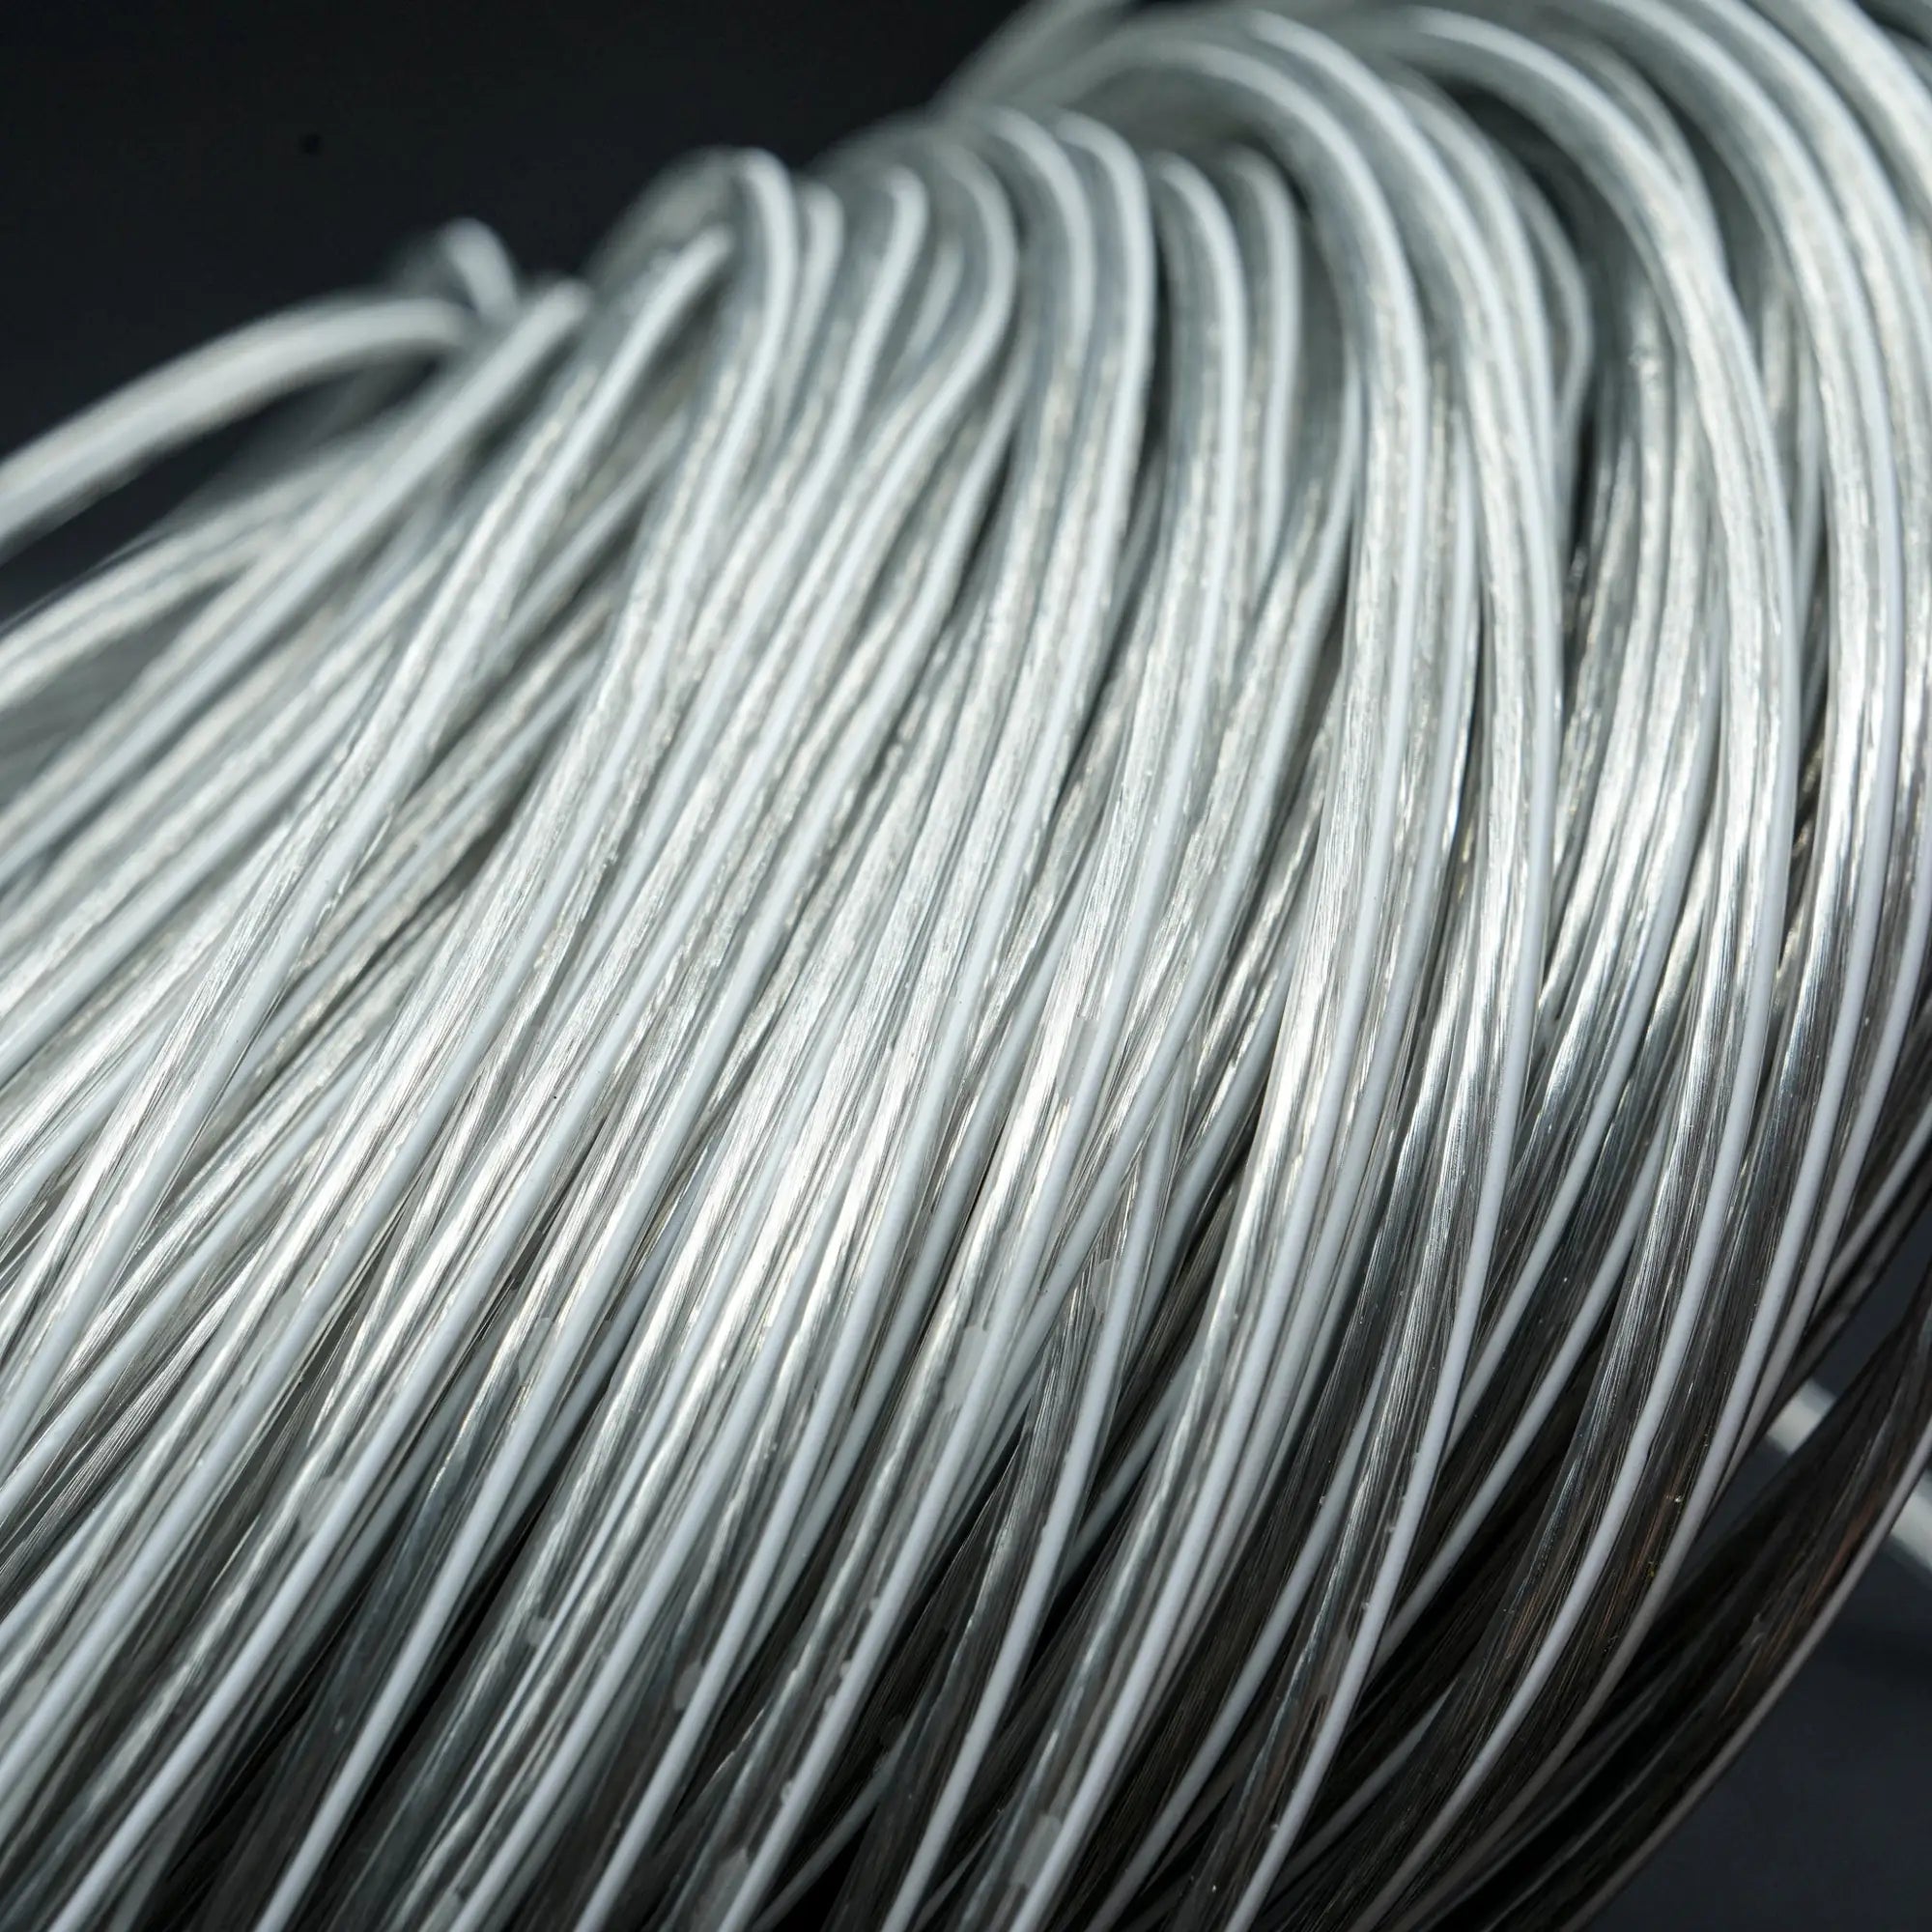
Choosing the Right Wire Gauge for Flexible Neon Lighting Applications
Choosing the correct wire gauge for flexible neon lighting is essential for safety and efficiency. It is important to consider the current load and voltage drop to achieve optimal performance. Various American Wire Gauge (AWG) options are available to meet the specific needs of different lighting applications.
Read moreabout Choosing the Right Wire Gauge for Flexible Neon Lighting Applications
Connecting Wires Using Soldering and WAGO Connectors with Polarity Match
Read moreabout Connecting Wires Using Soldering and WAGO Connectors with Polarity Match